Building a $100 Robot for Cats
Think robotics is hard? Think it's expensive? Think cats are not interested in it? Well, you are wrong*!*Maybe slightly correct about the last one
As I have previously discussed on this blog, I have an excellent cat named Lily. She loves boxes, string and all the things that make adorable cat videos (except laser pointers, for whatever reason). Basically her only flaw is the same as one of her best qualities: she loves people and she hates to be alone for long periods of time by herself.
So sad and so alone
Previously I lived in a house with four people who all loved her. When I moved to San Francisco, suddenly she had to stay home for hours while I was at work. I considered the possibility of cat sitters or kitty daycare, but for the most part these services don't seem to exist. If you even try to search for these services, the only results that come up are for dogs (give it a try).
So, one of my previous roommates and I came up with an idea. I would build robots for Lily. Then we were going to start a Kickstarter to build an army of cat robots and get people on Twitch to play with my cat. The Kickstarter did not go as well as we had hoped. However I persisted in my efforts to give Lily a robot friend that she could love.
I originally became interested in trying to build a robot after reading this post: How to build a robot that "sees" with $100 and TensorFlow. If you read the article, it is a list of the parts he used and a command that you can run with a pretrained model in Tensorflow on a Raspberry Pi to "see" objects. But, despite the fact that he gives almost no information about how he actually built the robots, the article made it seem affordable enough that I decided to give it a try.
In order to build a robot that can drive itself around, you need a chassis and some motors. The Sainsmart chassis that is listed in the article is clearly not the one he used (since both of his robots have four wheels and that one has two), but I purchased it anyway. For anyone with access to a 3D printer and a few DC motors, you can almost undoubtedly make one yourself for the $10 price tag of this chassis (or even less), but I was more than willing to pay to avoid the annoyance.
Buying the chassis will absolutely will not help you with building it (it does not come with instructions). In fact, there are so many versions of this chassis, with so many possible configurations of motors and mounting points, that pretty much the best advice for putting it together is to look for videos on Youtube (like this). I also found that a few of the screws and connectors that came with my chassis were very poor quality, so again, that may be a good reason to just 3D print and build your own. The most important thing is to make sure you have two DC motors that are compatible with being mounted on your chassis. Once you have mounted your DC motors to your chassis, you will need to solder four wires onto the four posts in order to provide power to the motors.
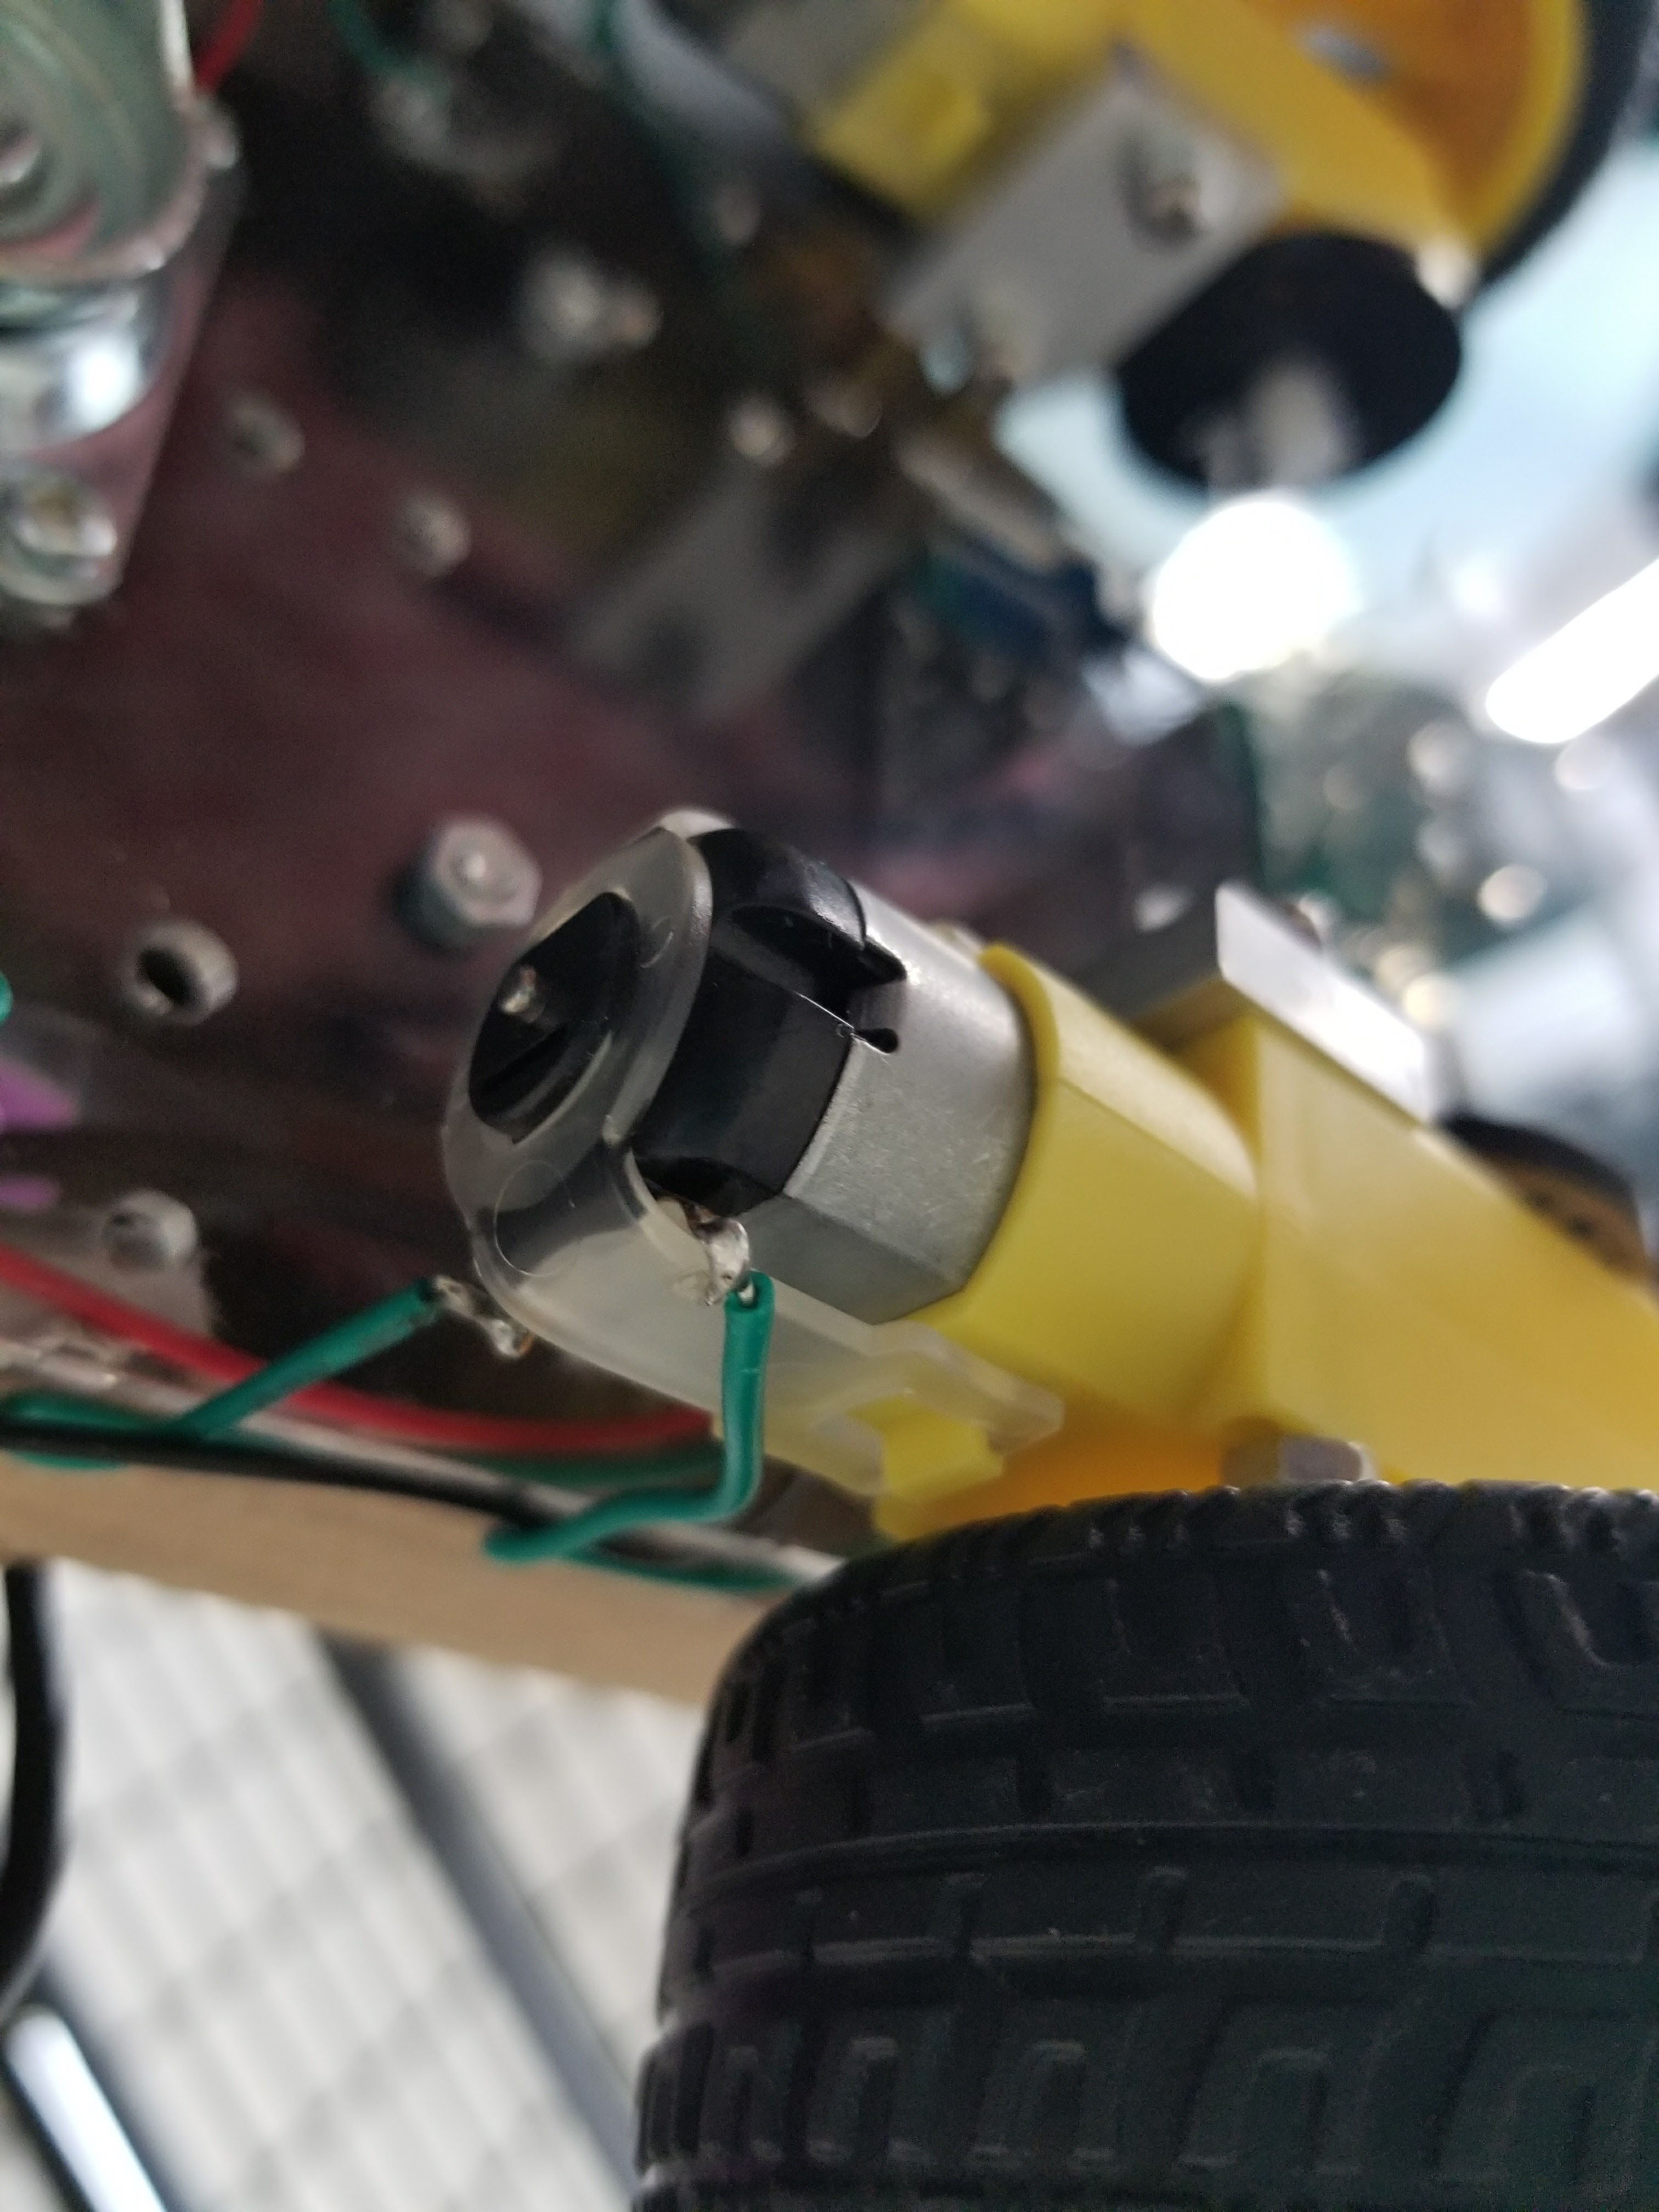
Should look like this
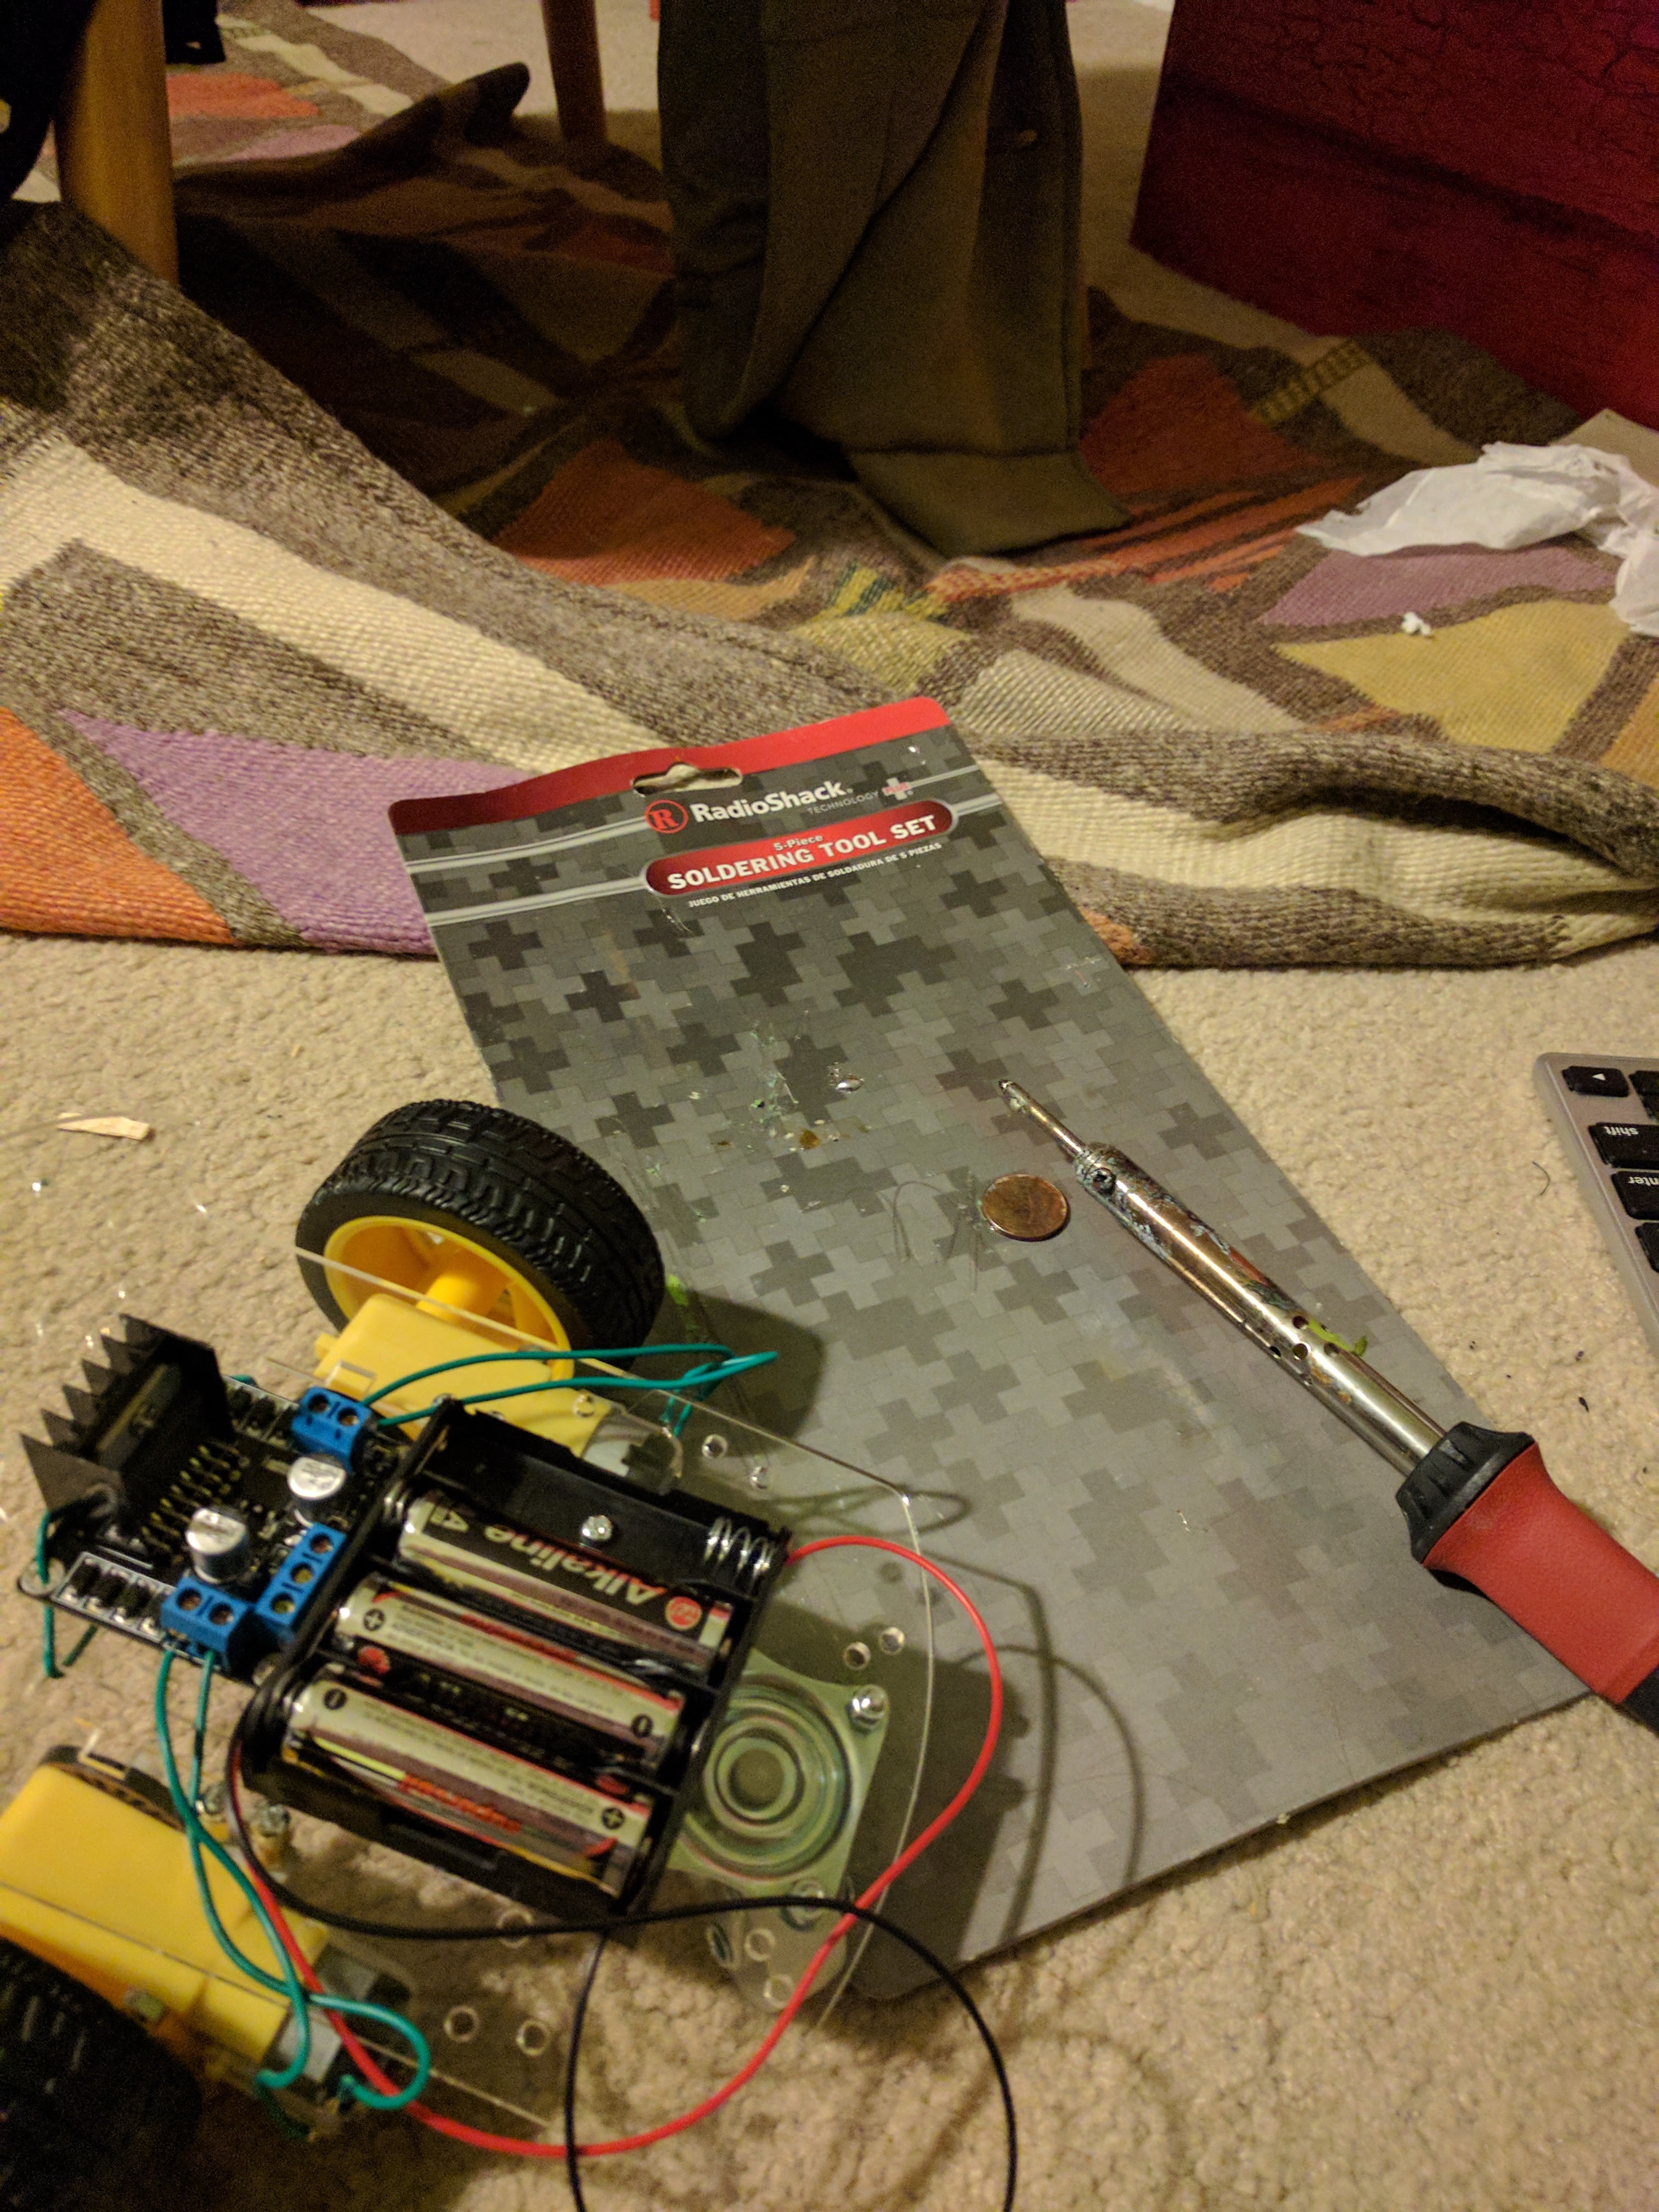
Don't be like me and solder on a piece of cardboard on your carpet...
If you buy the Sainsmart chassis, it also comes with a 4 AA/6V power source. Most DC motors should be able to be driven with 6V (and may be as low as 3 or 5V). But, since the goal is to control the motors with the Raspberry Pi, you need to control the motor power to the wheels using a motor driver. The motor driver will take the lower voltage output of the Raspberry Pi (about 3.3 V) and convert it to the voltage needed by the DC motors.
In the article he used a pretty expensive motor hat because he had a few motor drivers get burned out. I think that motor drivers burning out is pretty common in building robots like this, but I purchased the cheap and common L298 motor driver and had no issues for months of operating the robot and hauling it all over the city in my backpack. Only after moving into a new apartment did I manage to kill it. So it is up to you whether you want to get a $10 L298 or a $20 Adafruit motor hat.
Since the L298 is common, it is easy to find a diagram to set it up like this one. The four wires from the motors attach to the four connectors on the sides, and in order to get power it has a 12 V pin and a ground pin. You can attach the positive side (red) of the 6V power supply to the 12V and the negative side(black) to the ground. Since I also used a separate power supply for my Raspberry Pi, the ground from the Raspberry Pi is also attached to the ground of the motor driver. If the two grounds are not the same, the motor driver will not register the voltage difference, and the wheels will not move.
Some stripped wires for the power and motor connections and some nice female wires for the Raspberry Pi connections
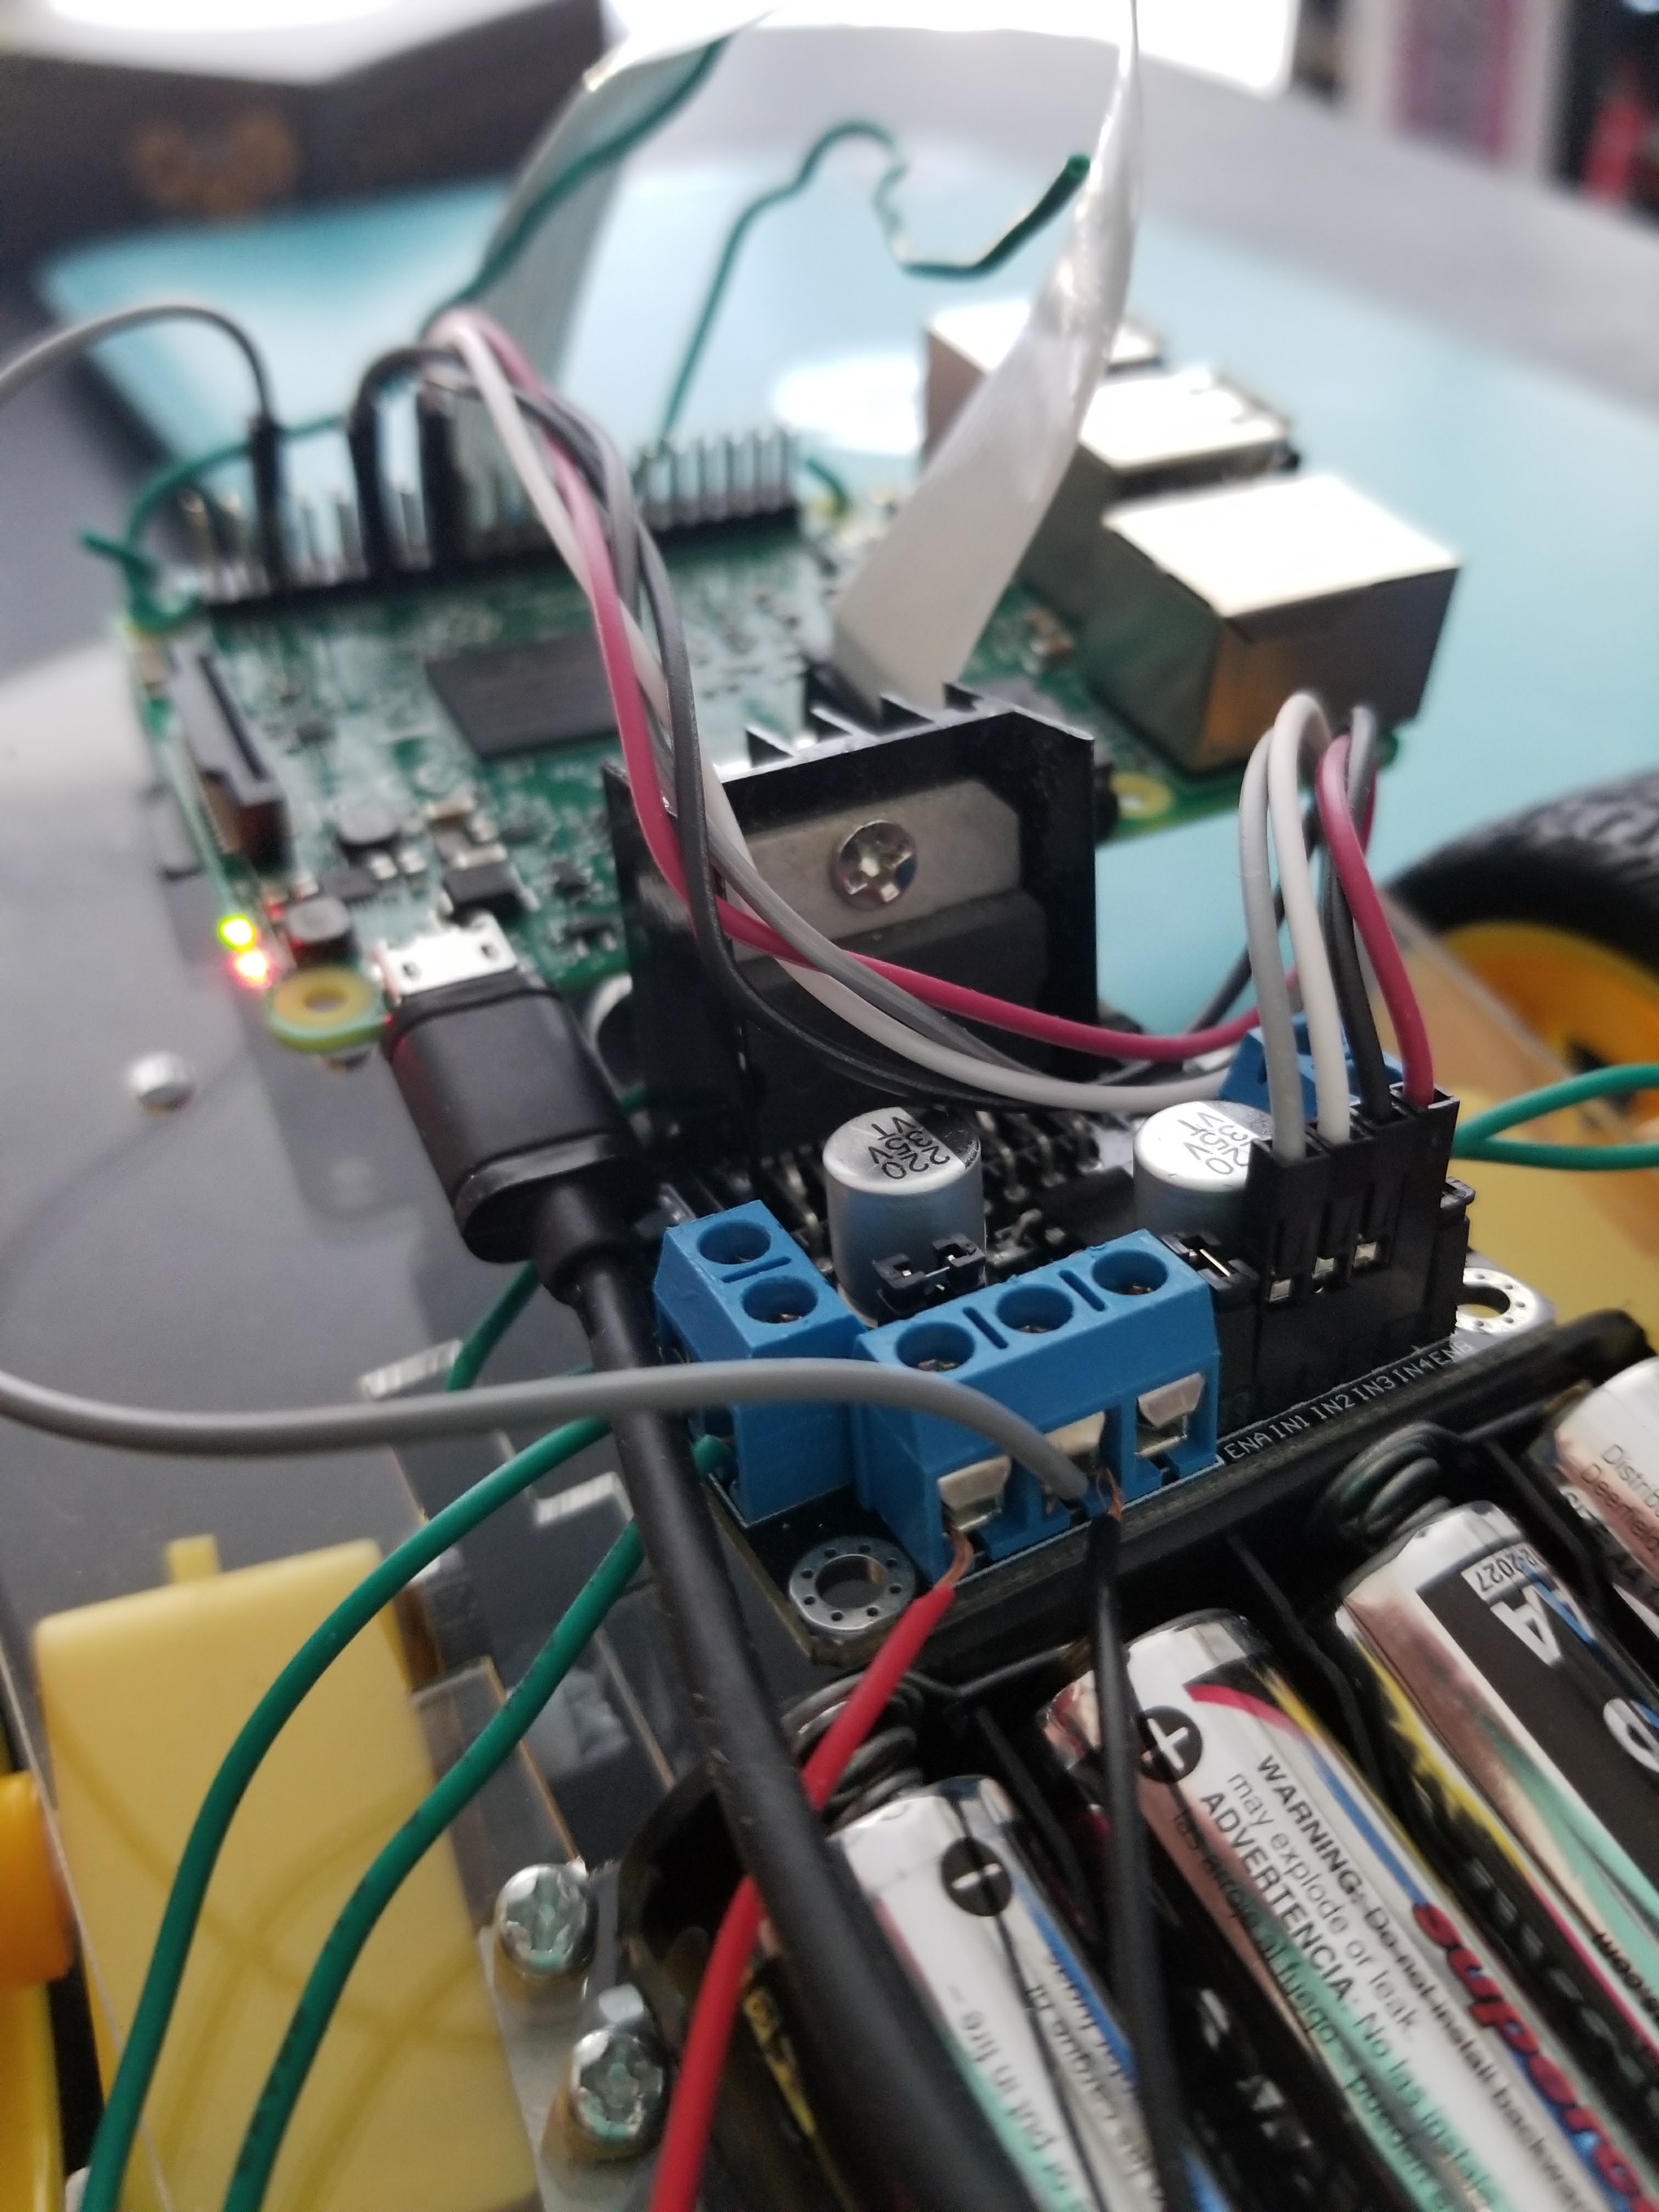
The motor driver has four pins that are meant to be connected to the Raspberry Pi. Basically those four pins can send a signal to the motor hat, telling it to turn either the left or right wheel either forwards or backwards. On the motor hat these are labeled "IN1, IN2, IN3, IN4". Using the BCM numbering scheme, I connected the Raspberry Pi GPIO 18 to IN1, GPIO 23 to IN2, GPIO 17 to IN3 and GPIO 22 to IN4.
All the wires going into the Raspberry Pi are fancy because it is a fancy robot
Phew. After all of that you should have the bones of the robot in place. I decorated mine to make it look nice (and also to protect it from being eaten or clawed).
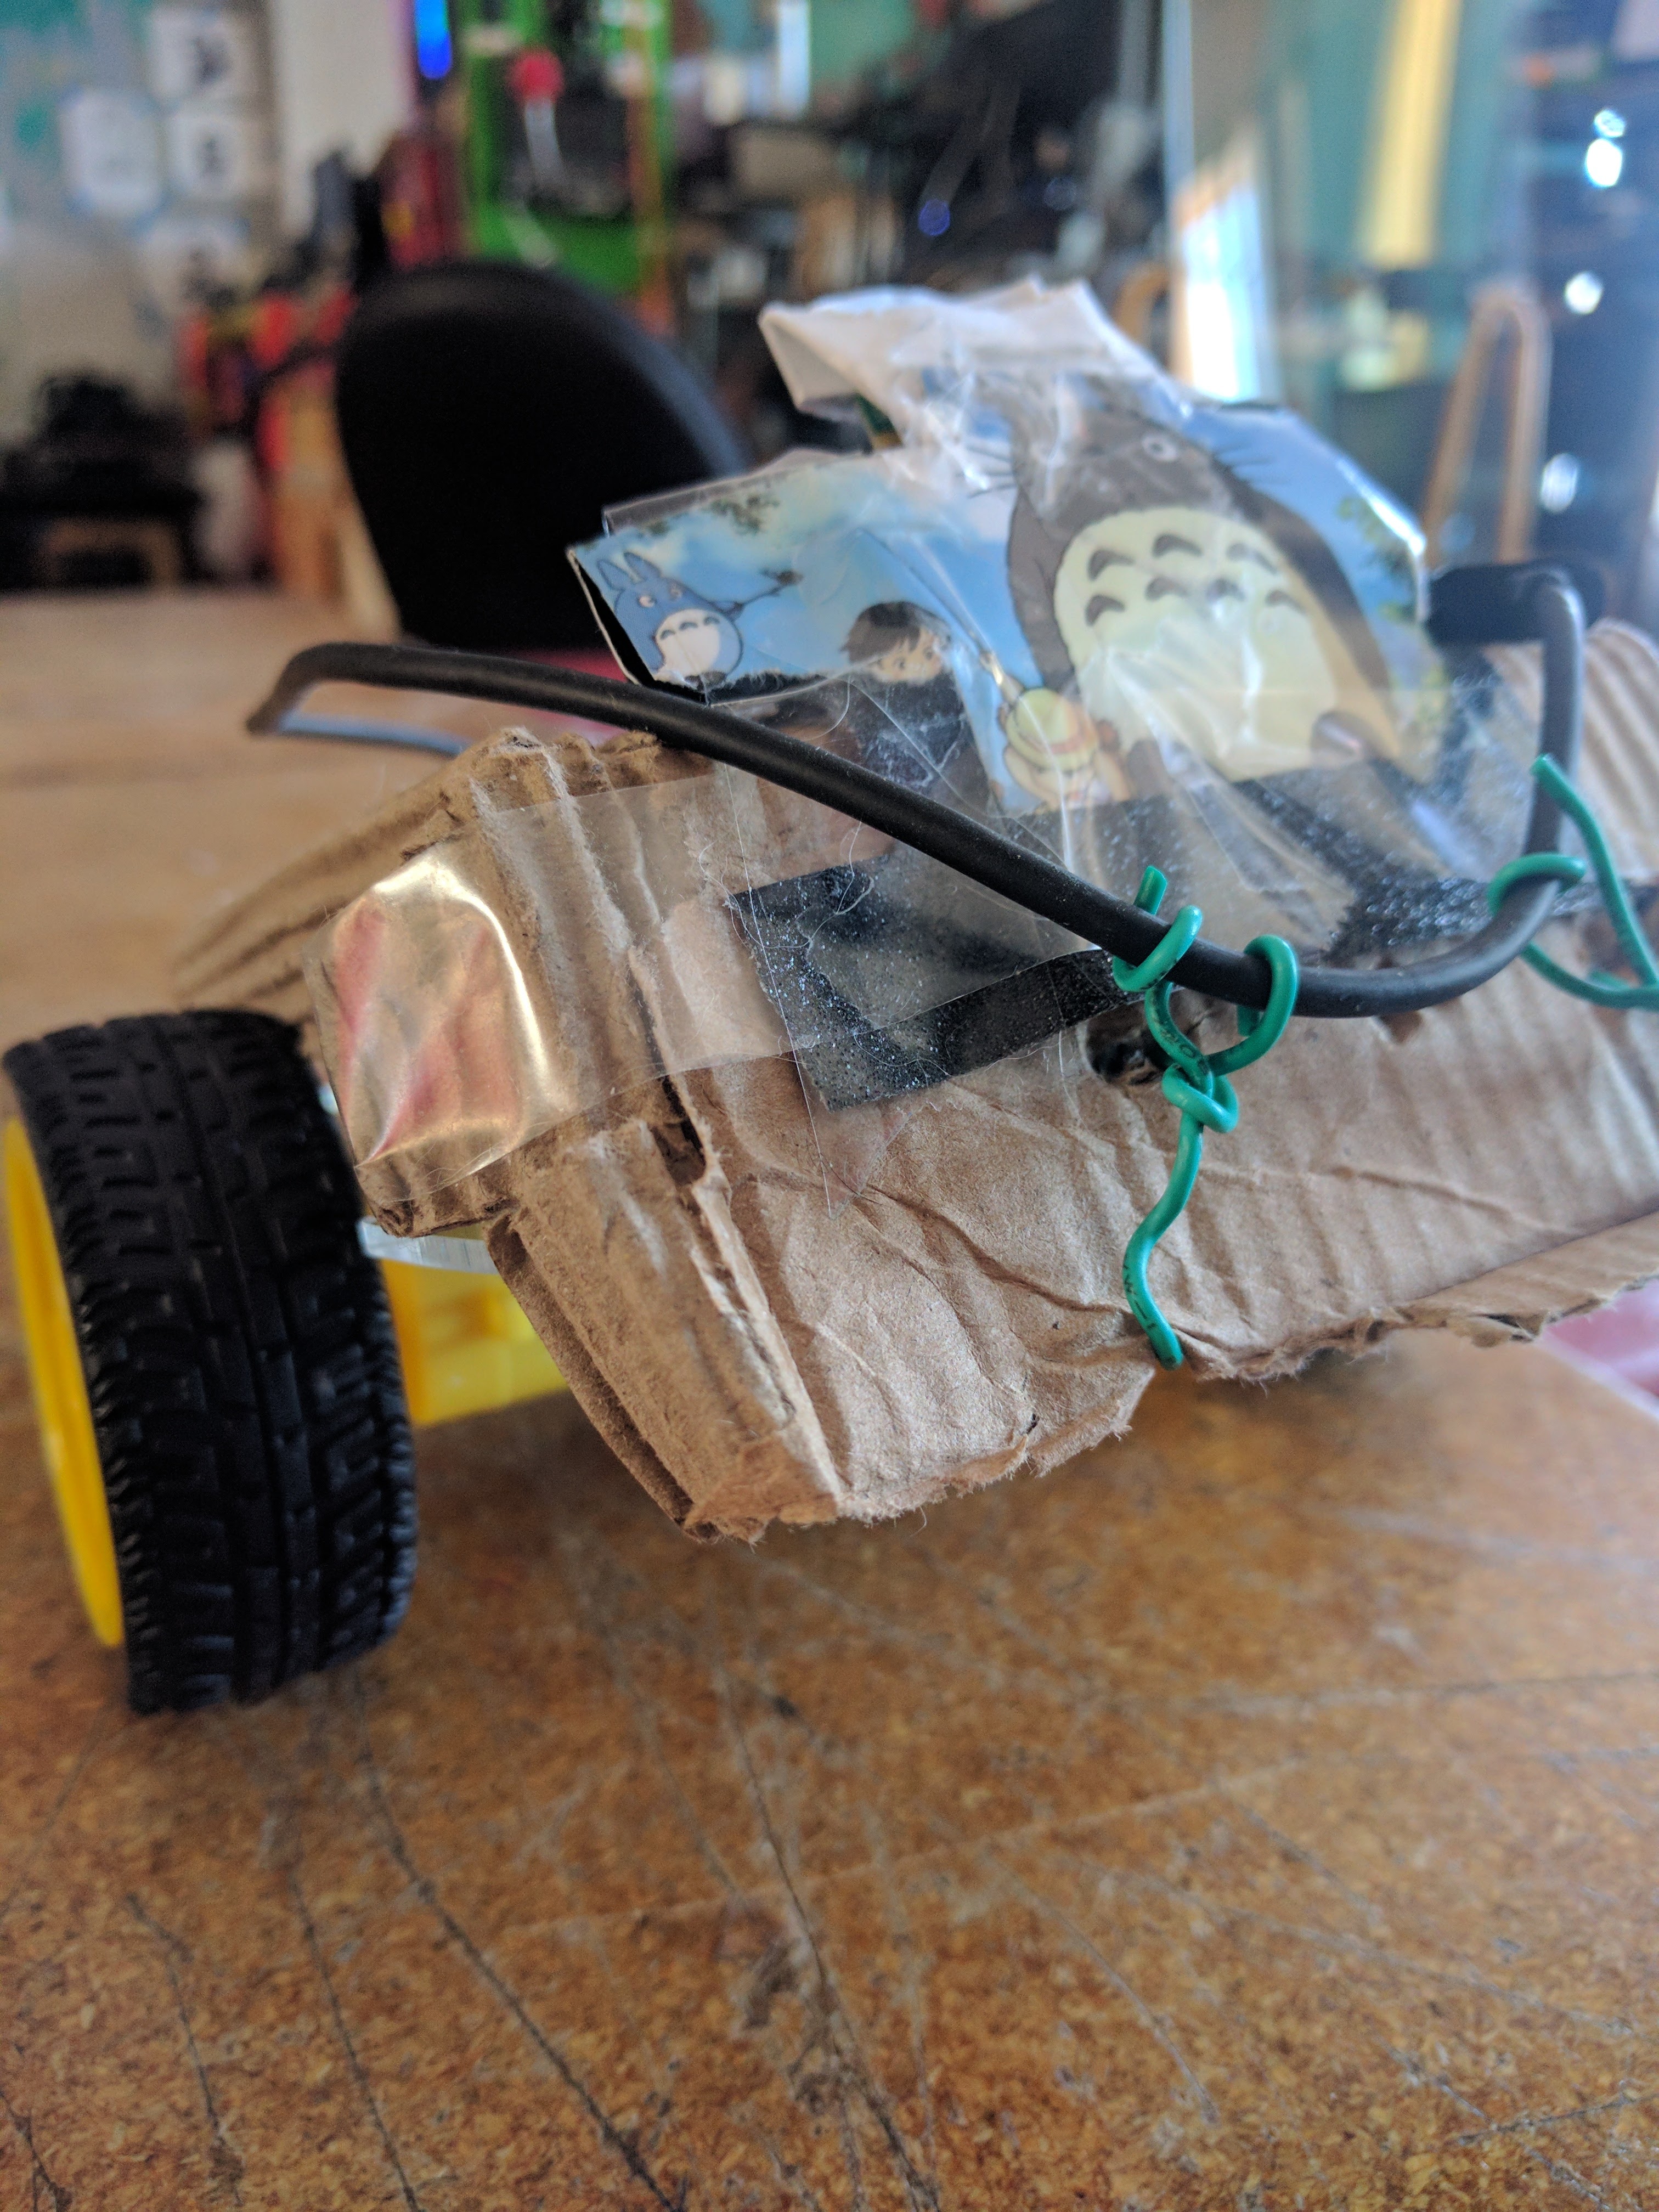
Mechanical Engineering is not my strong suit...
So, now that you have all the components, you need to solve the most important question. How do you make a robot that can play with your cat?
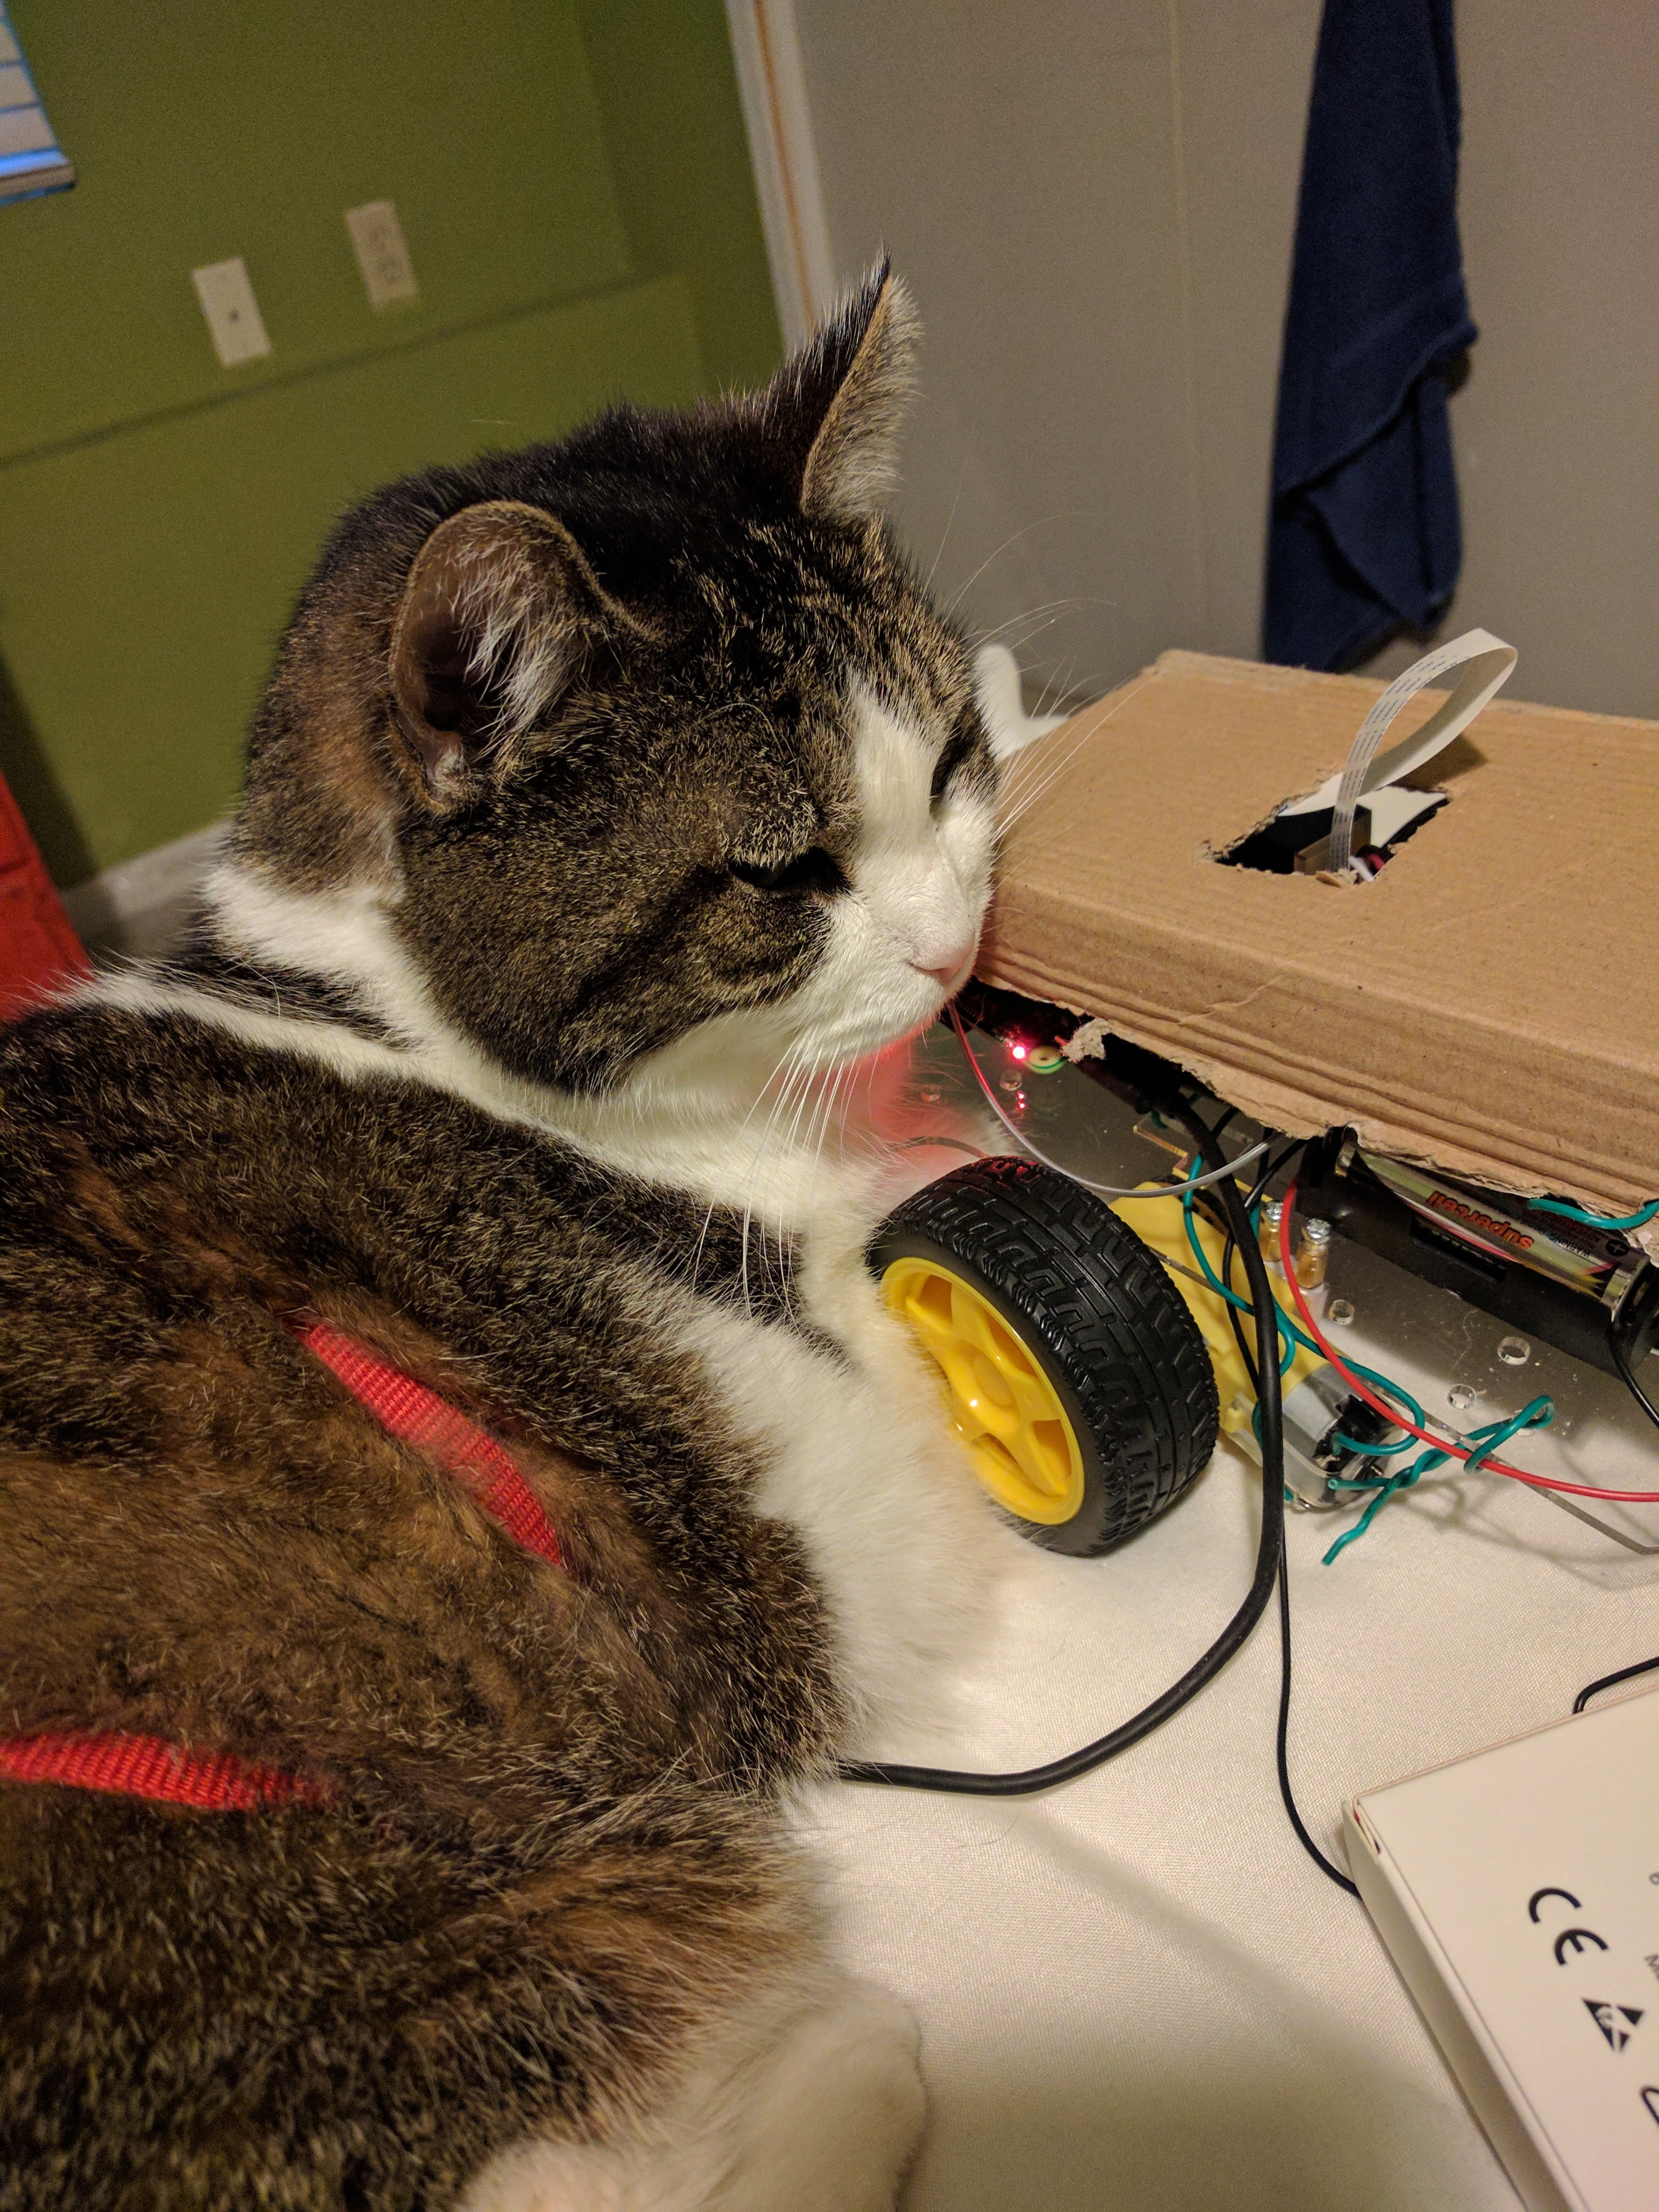
I had no problem getting Lily to play with the robot...
In order to be able to move, the Raspberry Pi needs to be able to control the motors. The Raspberry Pi can be powered by the motor driver (using its 5V output), or it can be powered through microSD by an external power supply (I used the power bank that is suggested in the article). Then, once the Pi is turned on, you will need a microSD card that has the Raspbian operating system on it. This is the brains that allow the Raspberry Pi to bend the motor hat to its will. If you have a Raspberry Pi 2 the Wheezy distribution works best, and if you have a Raspberry Pi 3 then the Jessie distribution is the correct one. You can easily buy an SD card that has been flashed with Raspbian, or there are several tutorials for setting up an SD card with a Raspbian operating system if you want to try to do it from scratch.
You can log onto the Raspberry Pi for the first time by connecting it to a keyboard, mouse and monitor. The default username is pi and the password is raspberry. Once you are logged in, you can use the wpa supplicant to set up your wireless credentials on the Raspberry Pi. Then, in the future, you can log onto it by sshing remotely, without needing the keyboard, mouse and monitor.
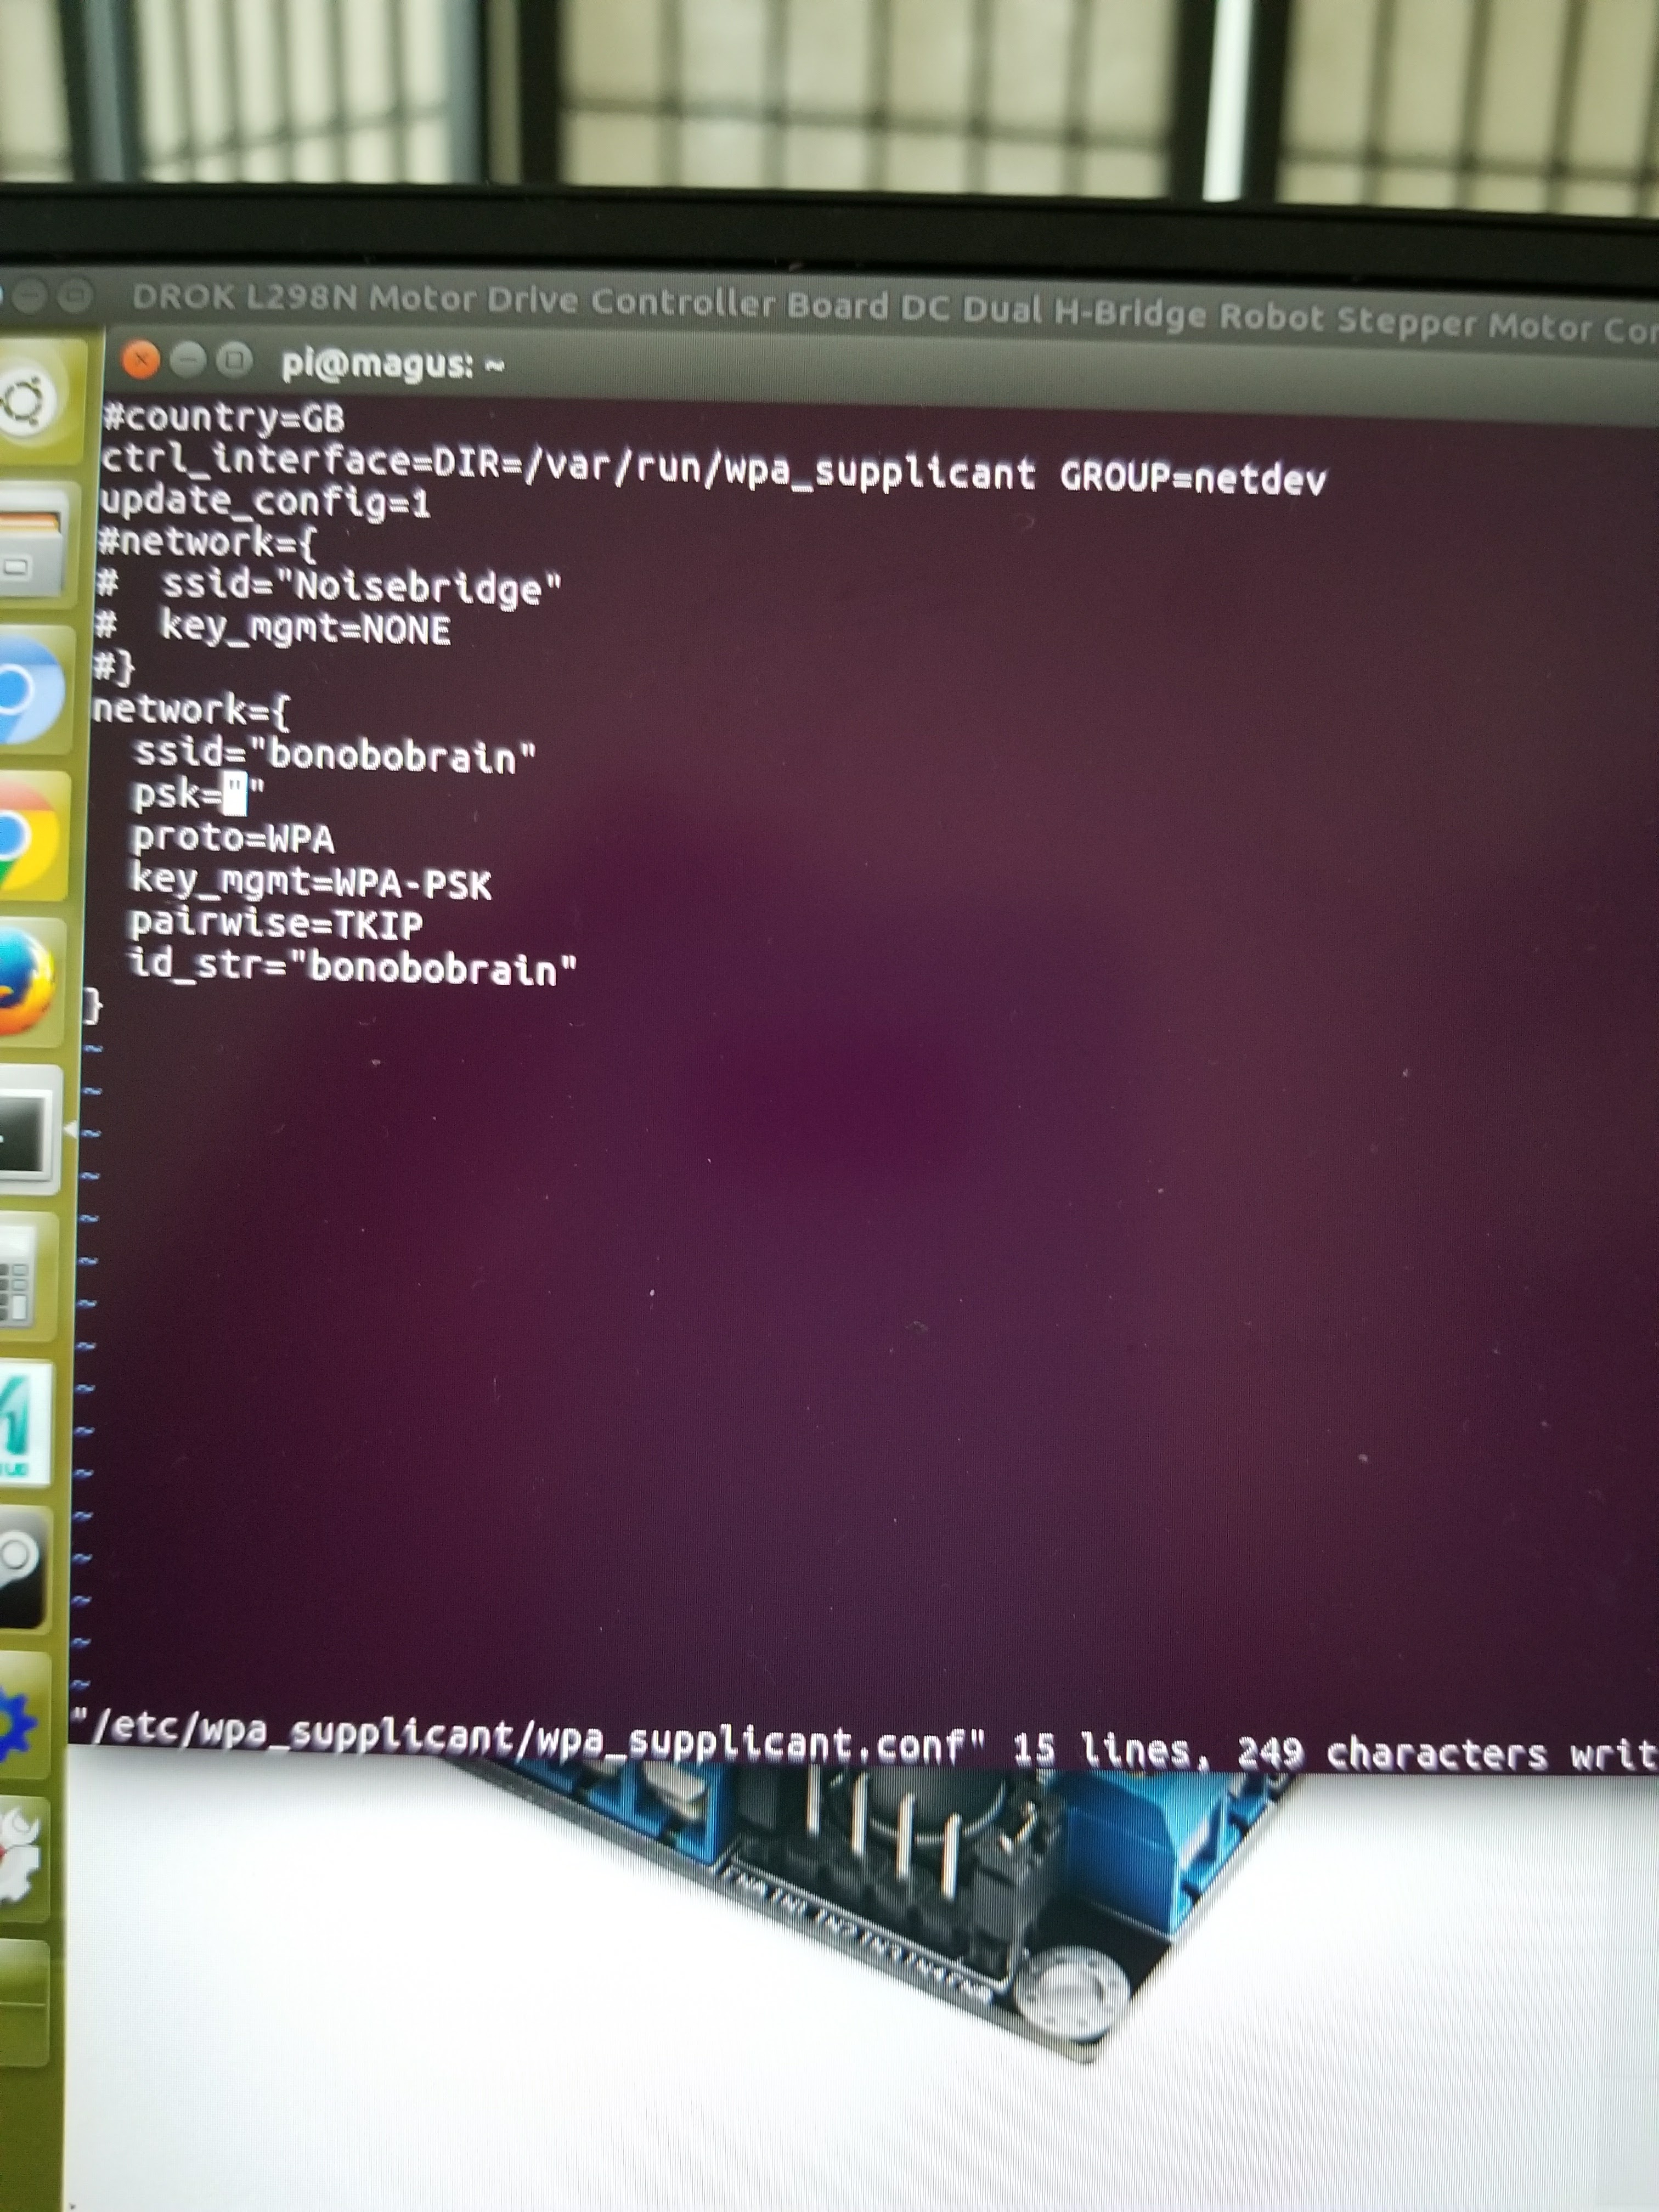
If you use this file, make sure to use your own user name and password...
On your machine, you can use ifconfig to determine the network address of your wireless connection. Then, tools like nmap can help you to find the exact IP of the Raspberry Pi. If you are on a busy network and discovering the IP of your Raspberry Pi in this way is difficult, you may want to set up a static IP for it. This method can also be used to connect to the Raspberry Pi by ethernet in order to do the initial setup (if you do not have a keyboard, mouse and monitor).
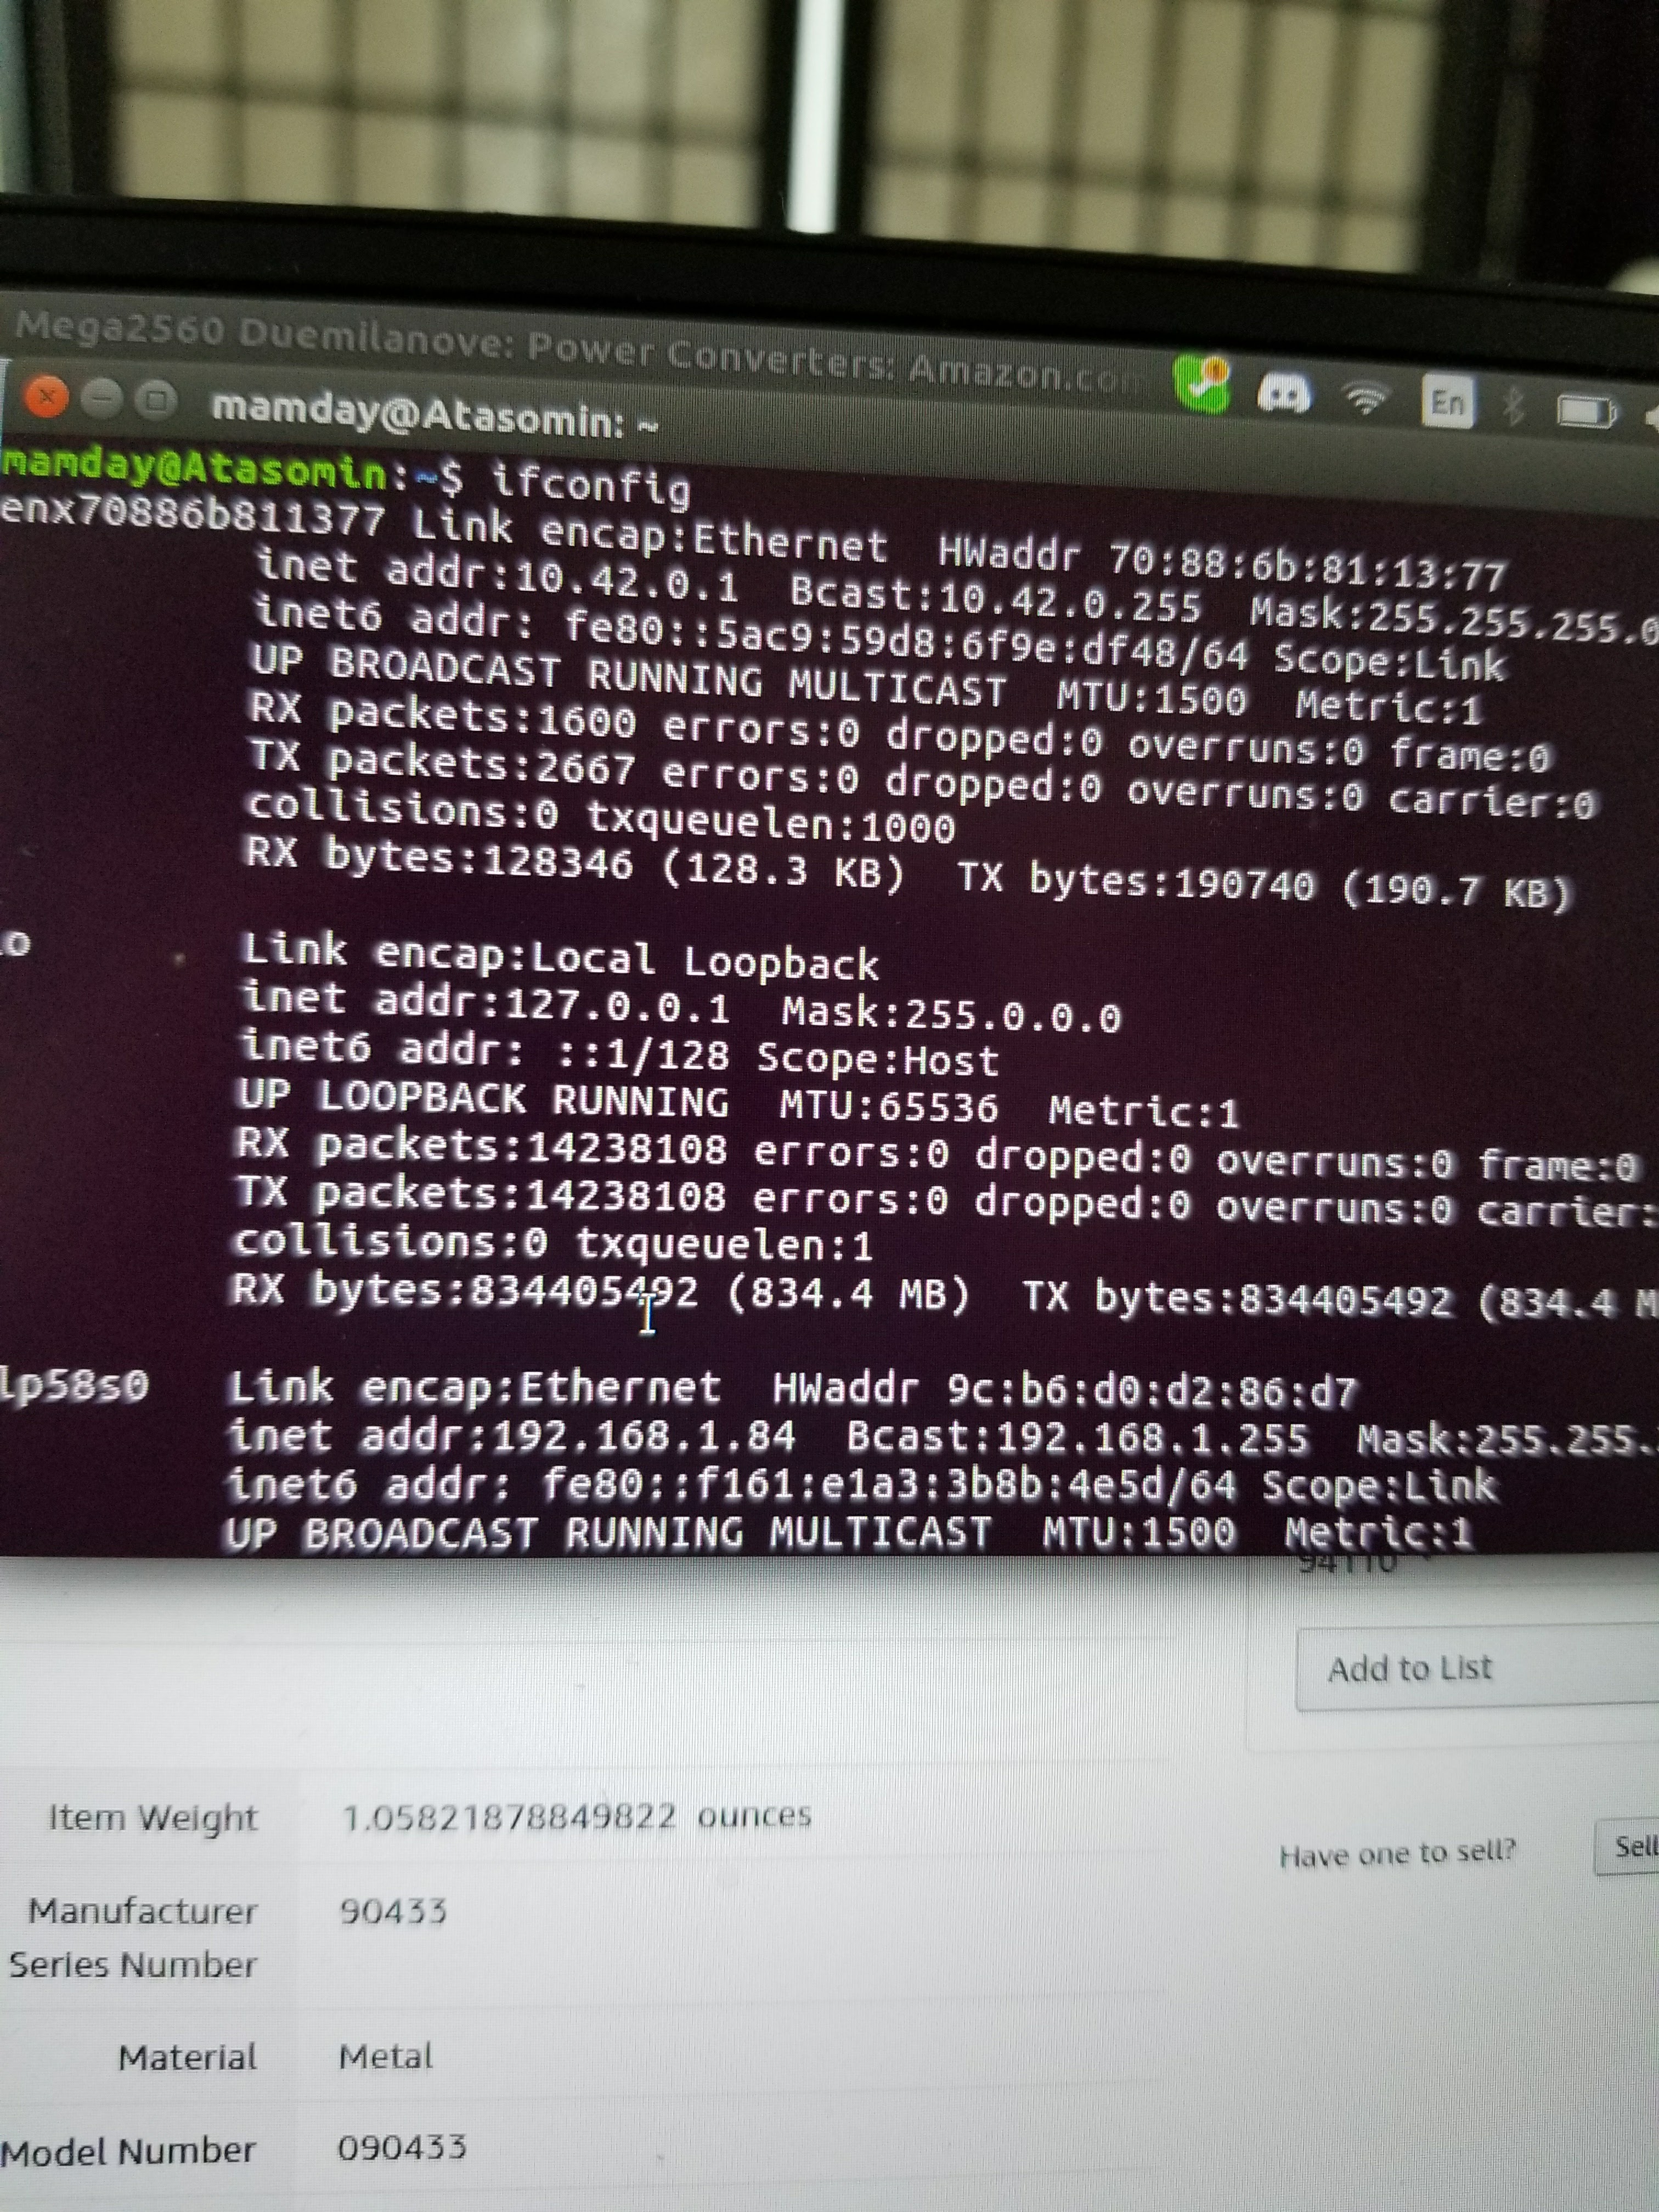
I don't have a monitor, keyboard or mouse.
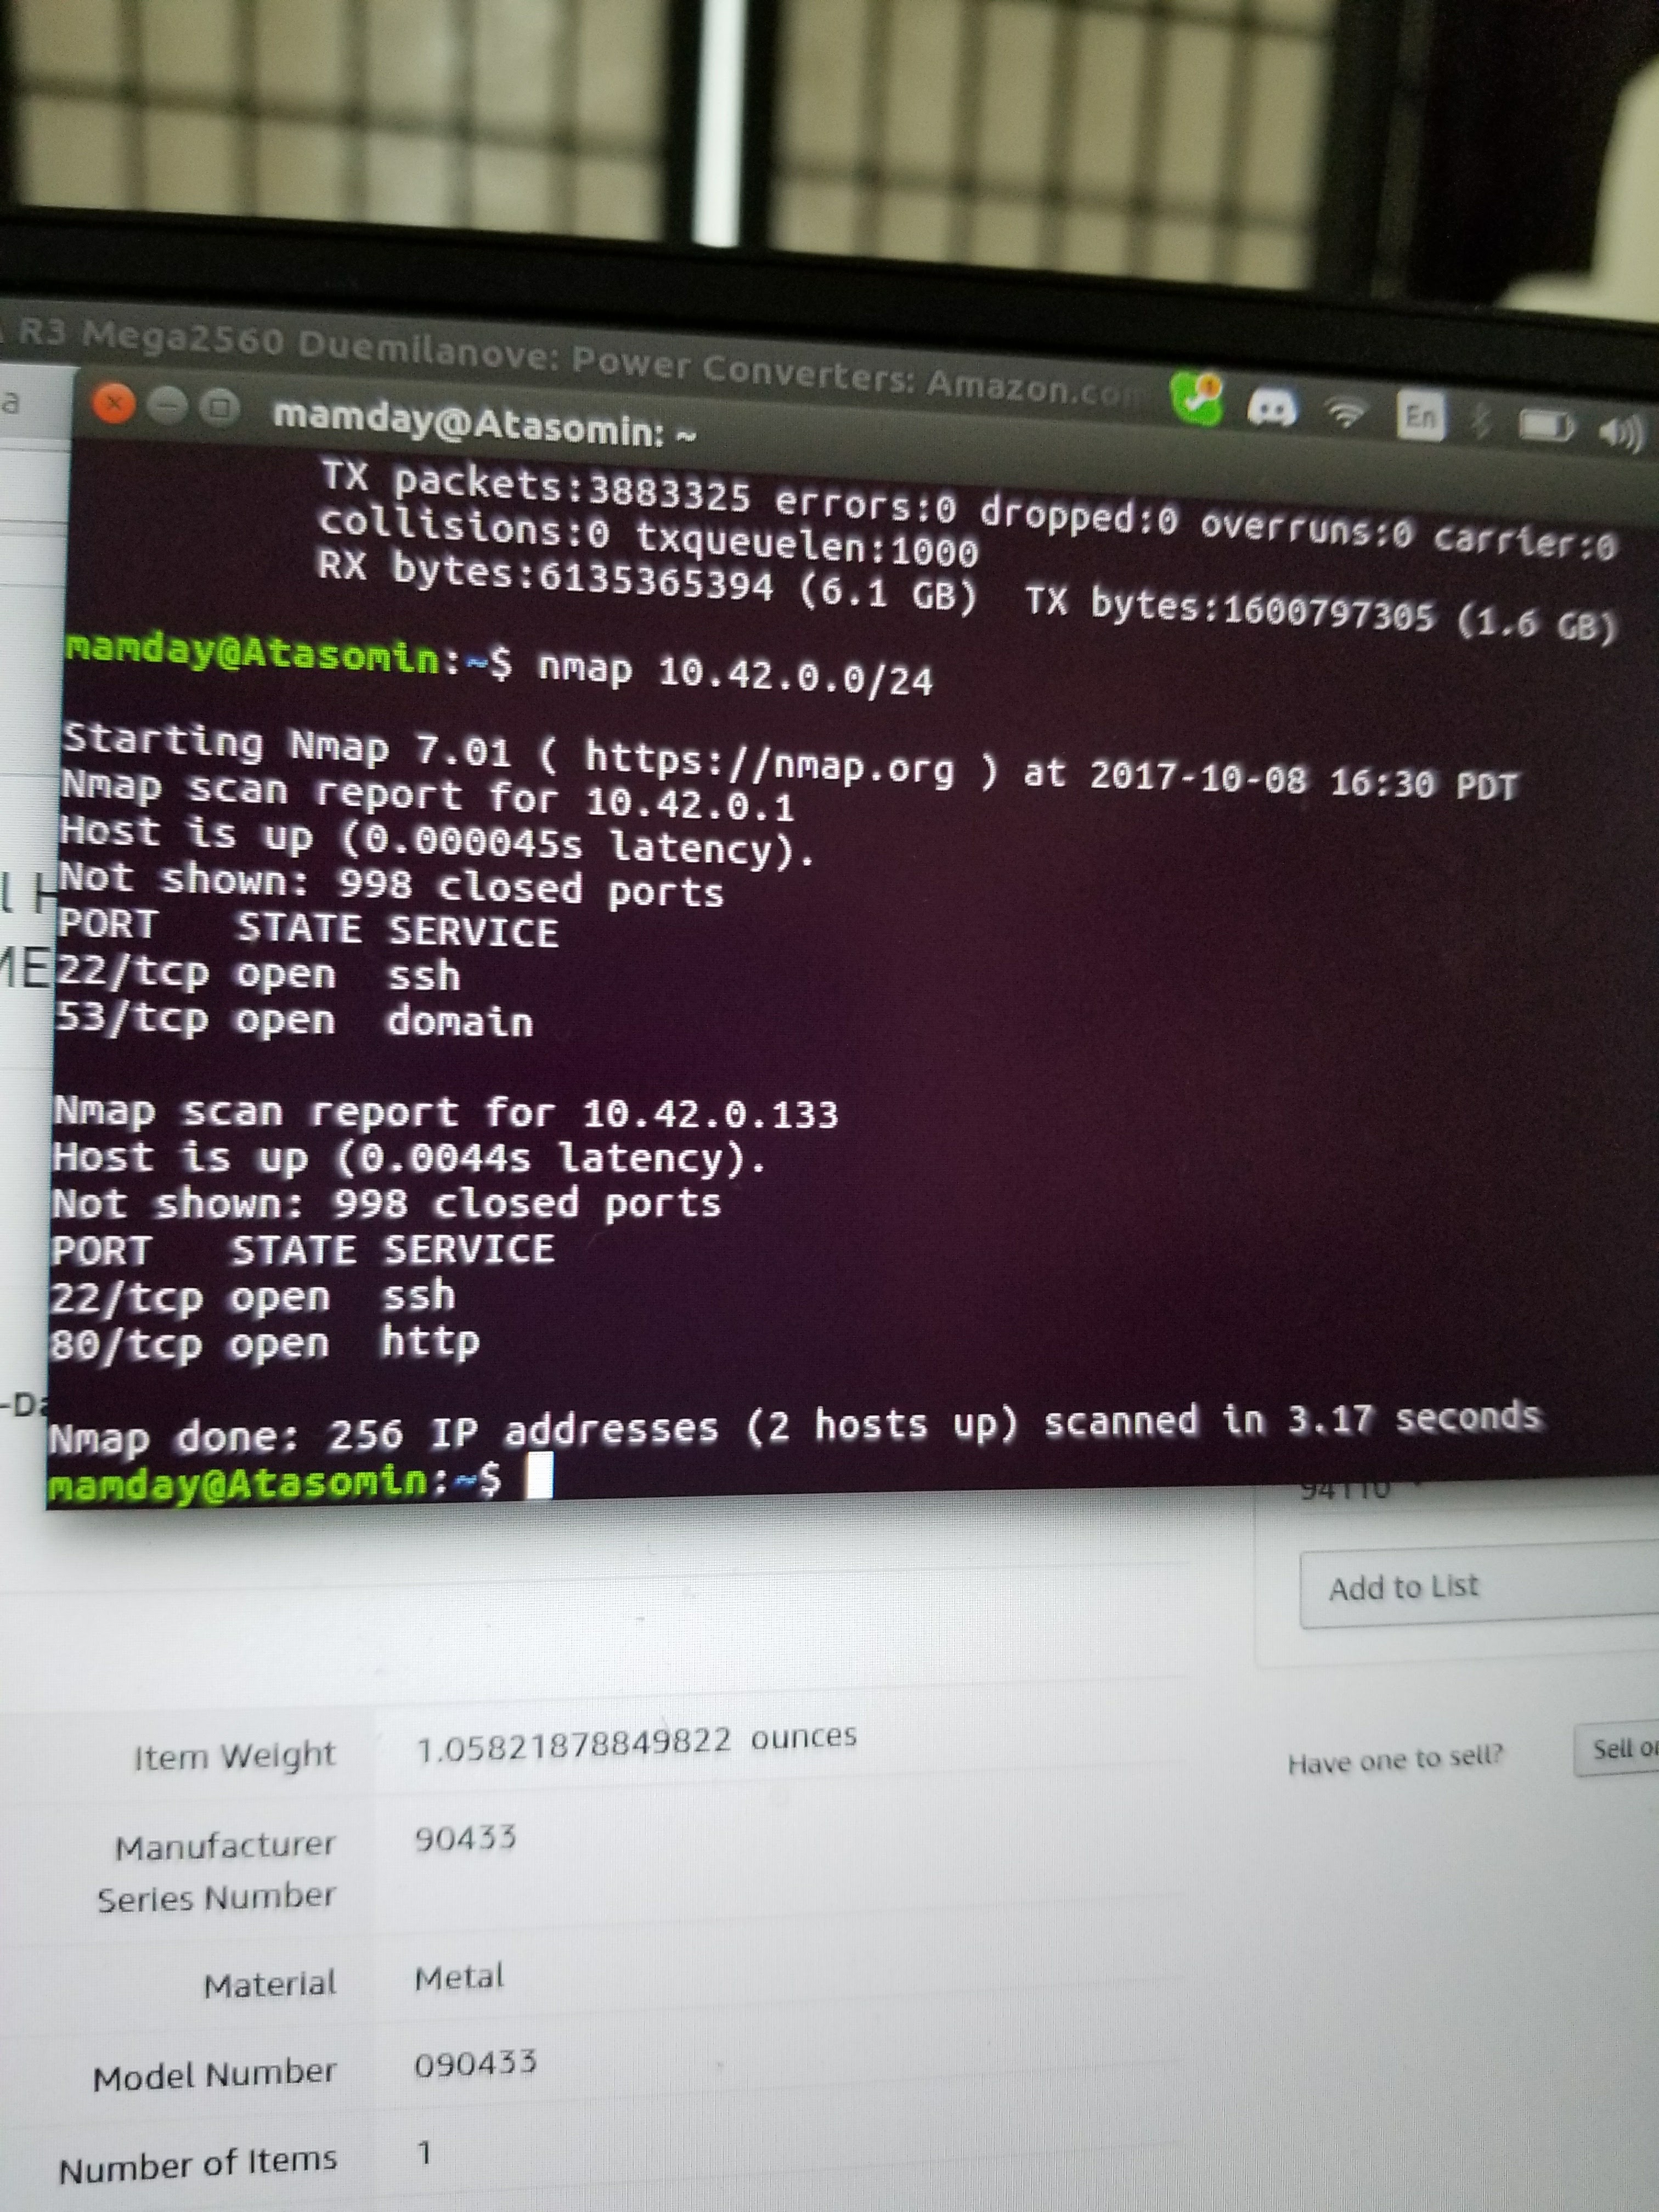
Nmap is good for a lot of things. Go look it up.
Then, while logged into the Raspberry Pi remotely, you can use the following code to control the car. This assigns the pins that I connected to the motor driver to different variables and initializes the GPIO for each pin. Then the car can be moved for a certain amount of time by using the associated command: l(time) for left, r(time) for right, b(time) for back and f(time) for forwards.
After I got this all to work, I tried it out on my cat. Unfortunately she did not like her new friend. Whenever it got close to her, she would run away. I think it behaved too unnaturally. My jerky motions made the robot seem too menacing.
However, I continued to build the robot. After all, I still hadn't added the ability for it to "see" my cat. Obviously it should be possible to get her to like it if it could recognize and respond to her, right?
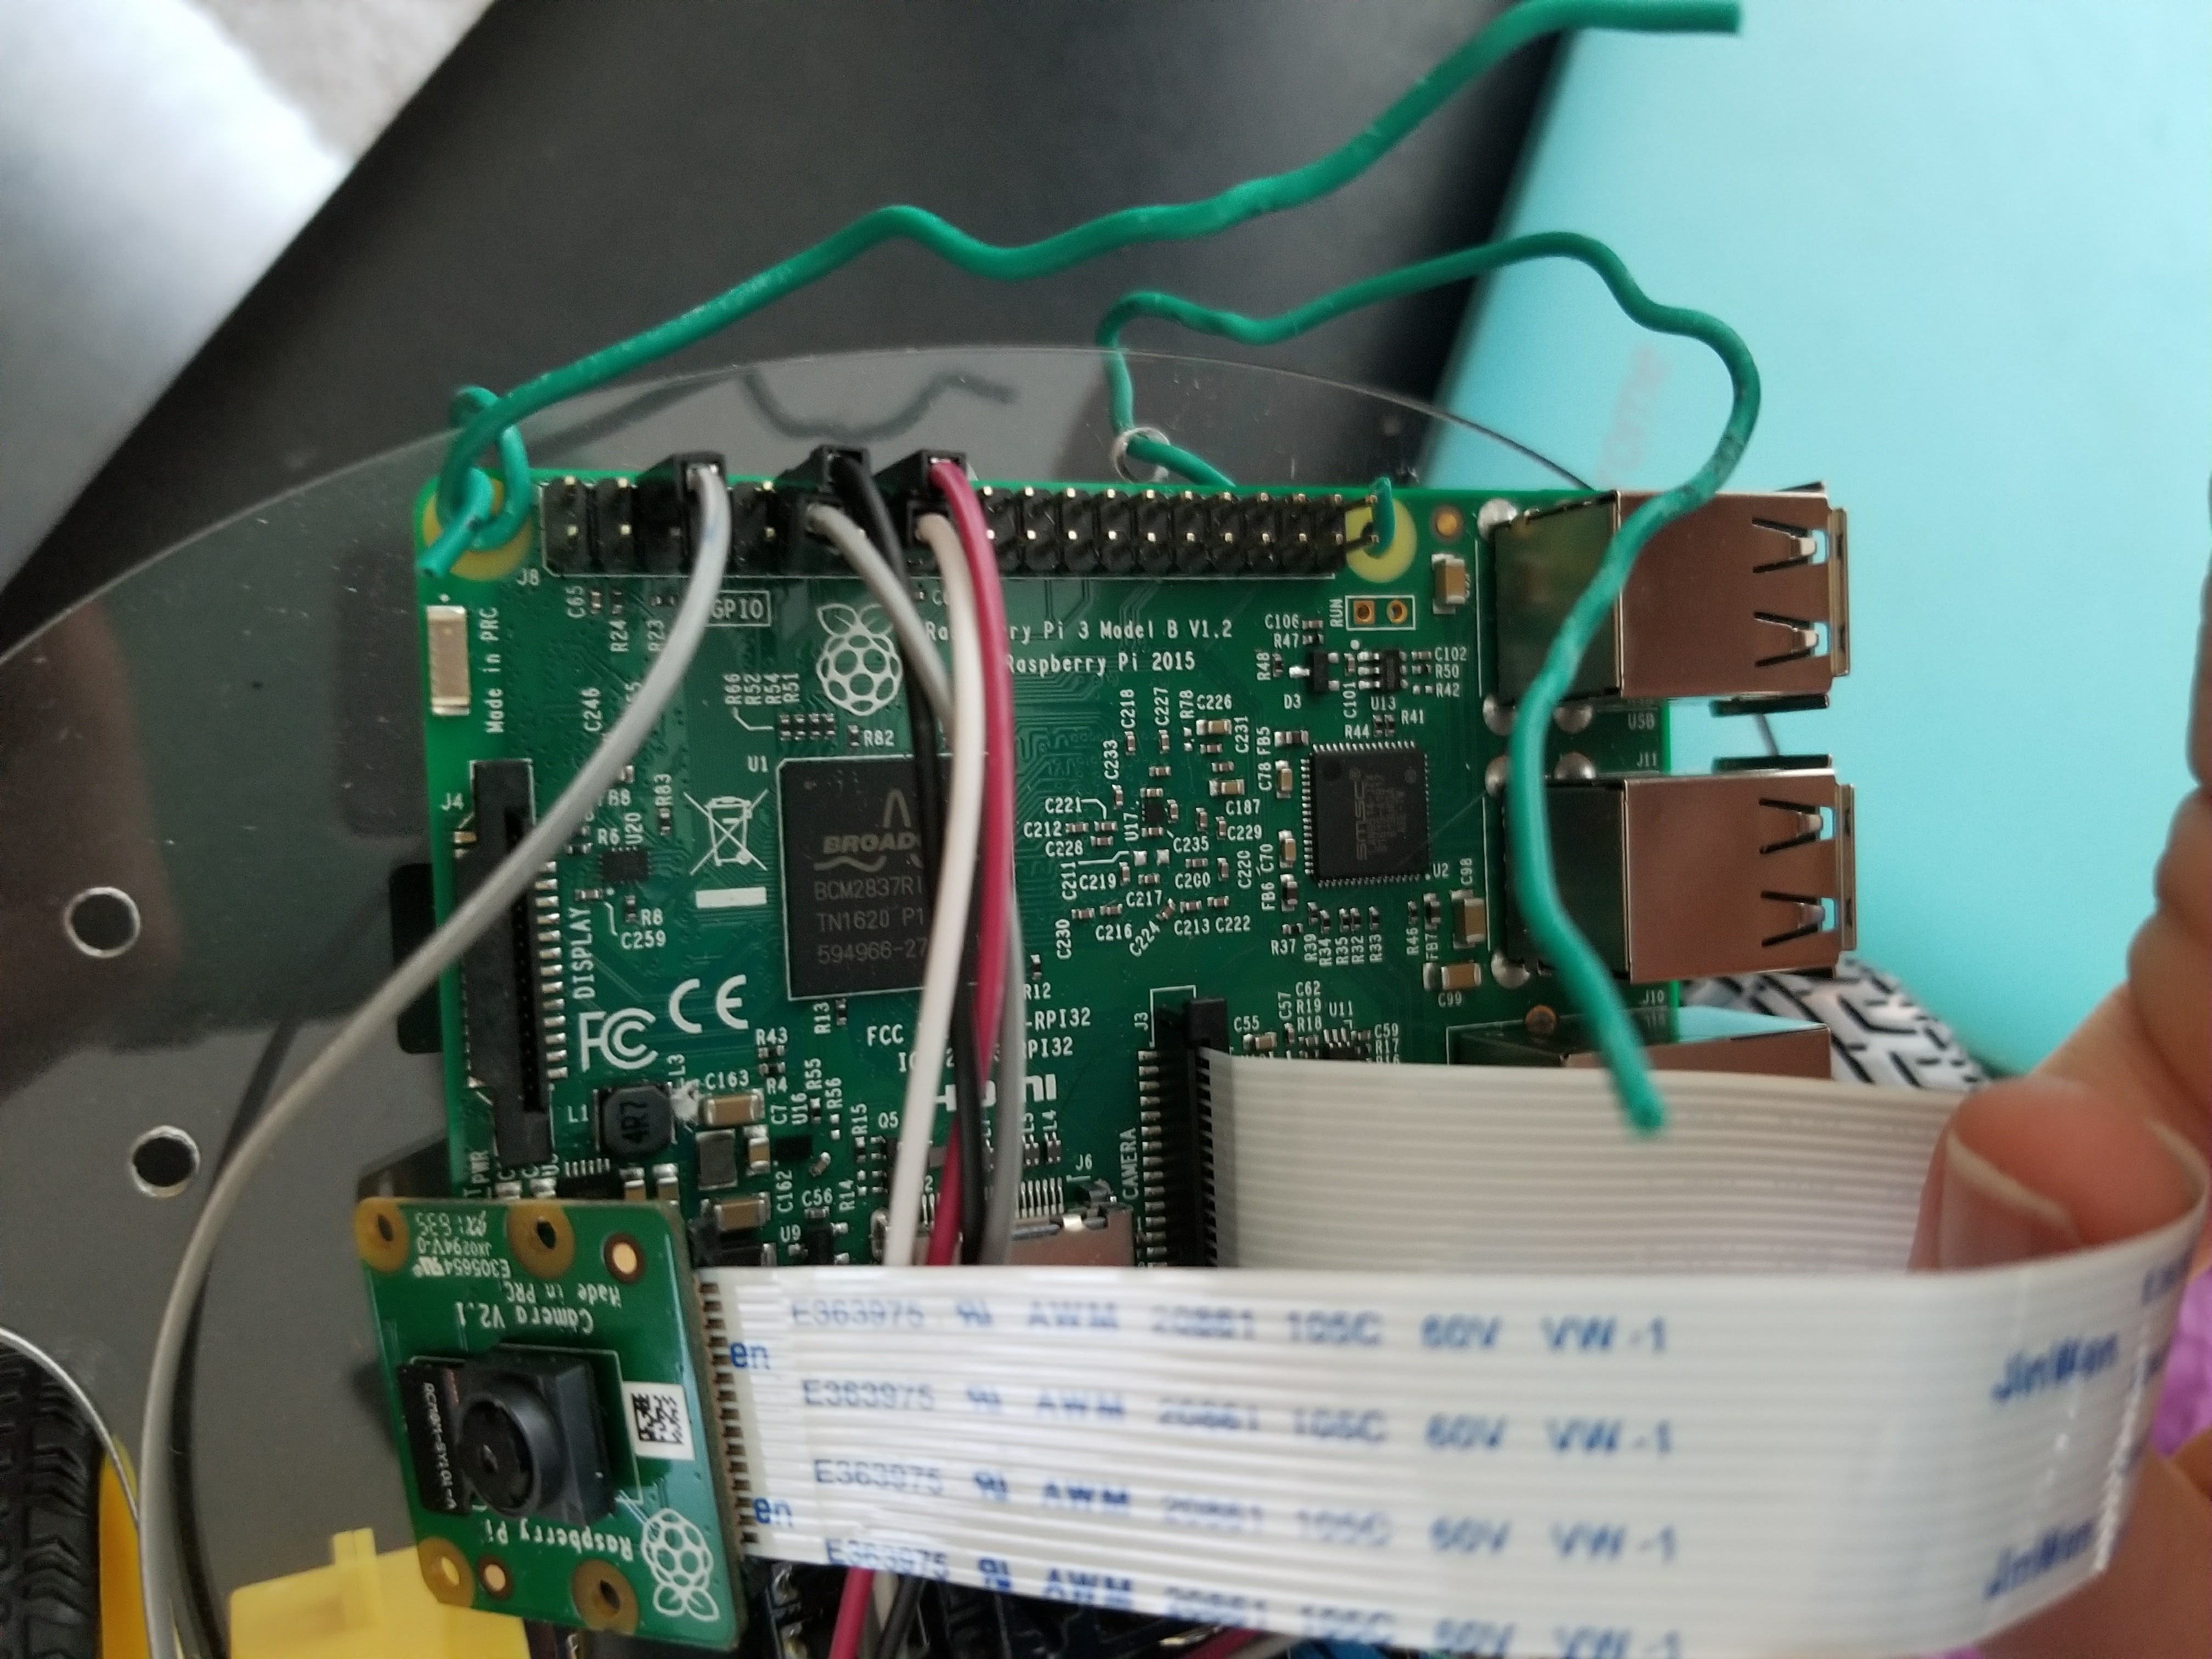
If you buy the camera recommended in the article, installing it in the Raspberry Pi is easy. It fits in the little slot next to the HDMI port. The ribbon cable feels very delicate, but I've found that even if you really cram it in there it is fine. The camera side, however, is actually very sensitive to being jostled. If the little tab on the side of the lens gets displaced even a little bit you will lose contact with the camera.
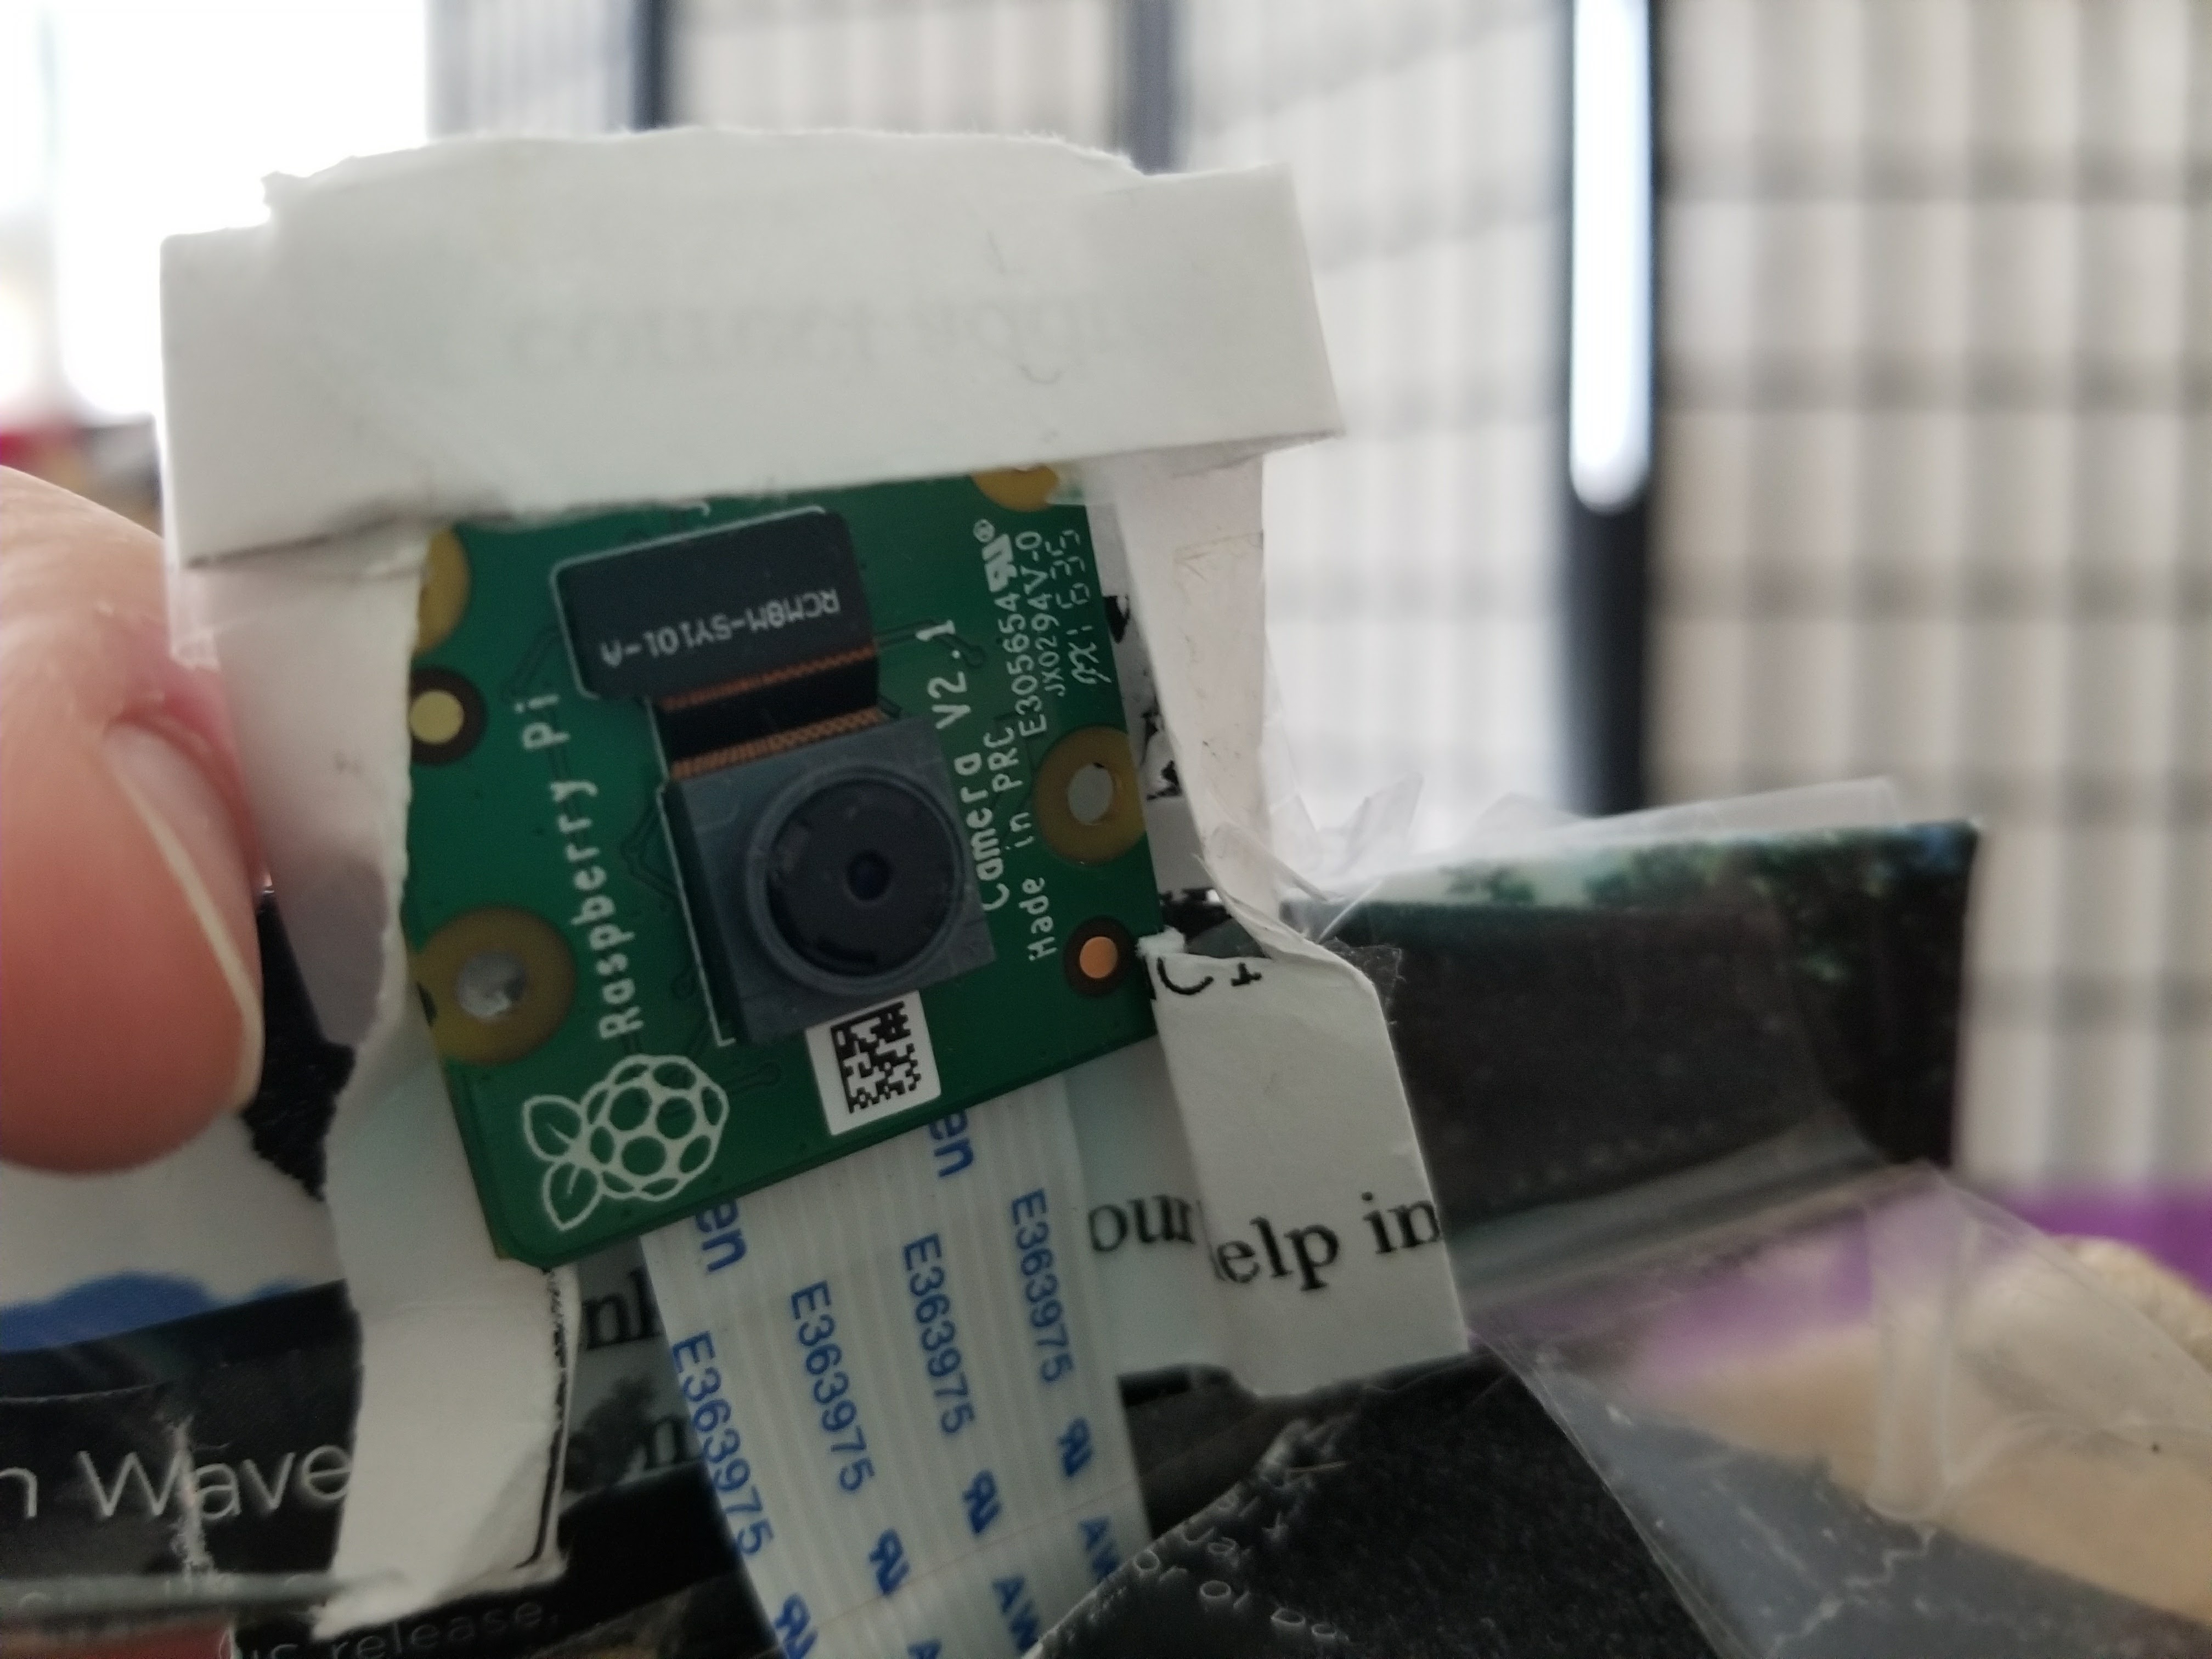
Seriously, be really careful with the thing that slots into the lens
The web server he recommends in the article for the camera works well. It will create an interface for you at "RaspberryPiIP"/html, where "RaspberryPiIP" is the IP you found previously with nmap. You can take pictures and video using the interface, and it continuously updates an image located at /dev/shm/mjpeg/cam.jpg on the Raspberry Pi.
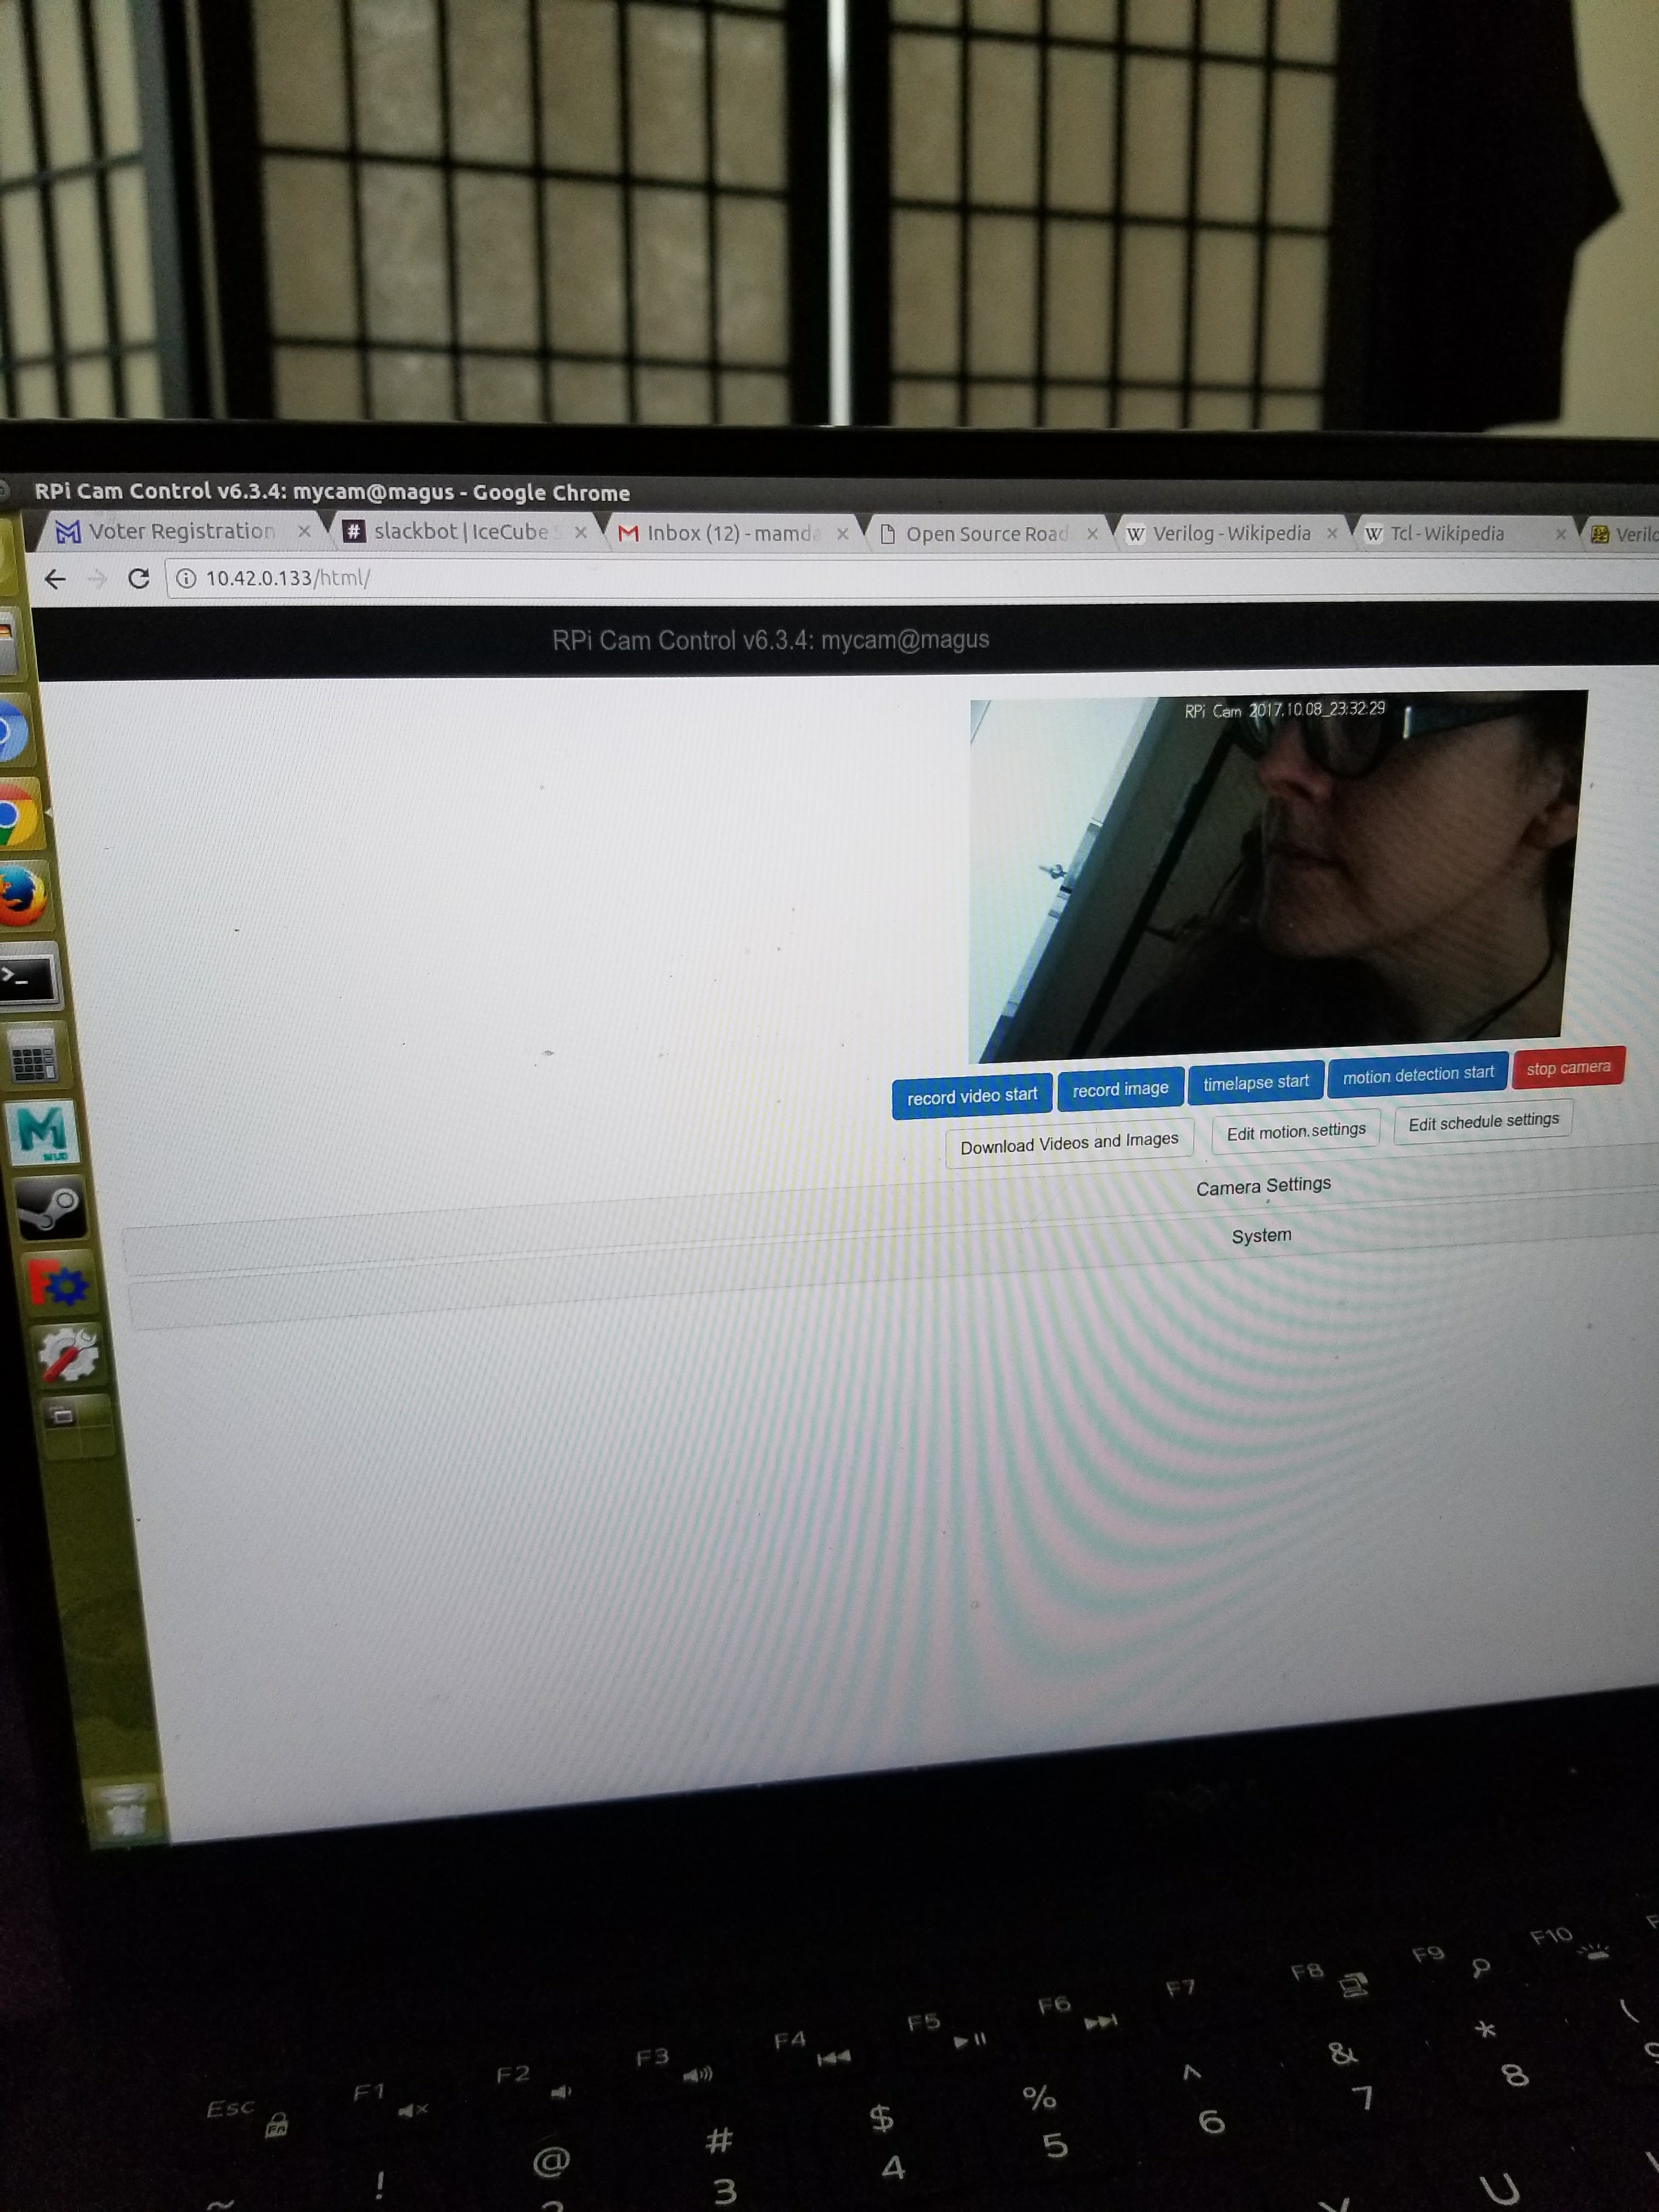
Pretty nice robot selfie.
In the article he spends some time talking about how long it took him to install Tensorflow. However, now the instructions are listed on their Github page and it is fairly straightforward. The installation took me multiple hours though, so I left it running overnight. Once Tensorflow is built, running the pretrained model on the images from the web server is very simple. You just use the command "tensorflow/contrib/pi_examples/label_image/gen/bin/label_image --image=/dev/shm/mjpeg/cam.jpg" and it will output the top five things it thinks are most likely to be in the image you gave it.
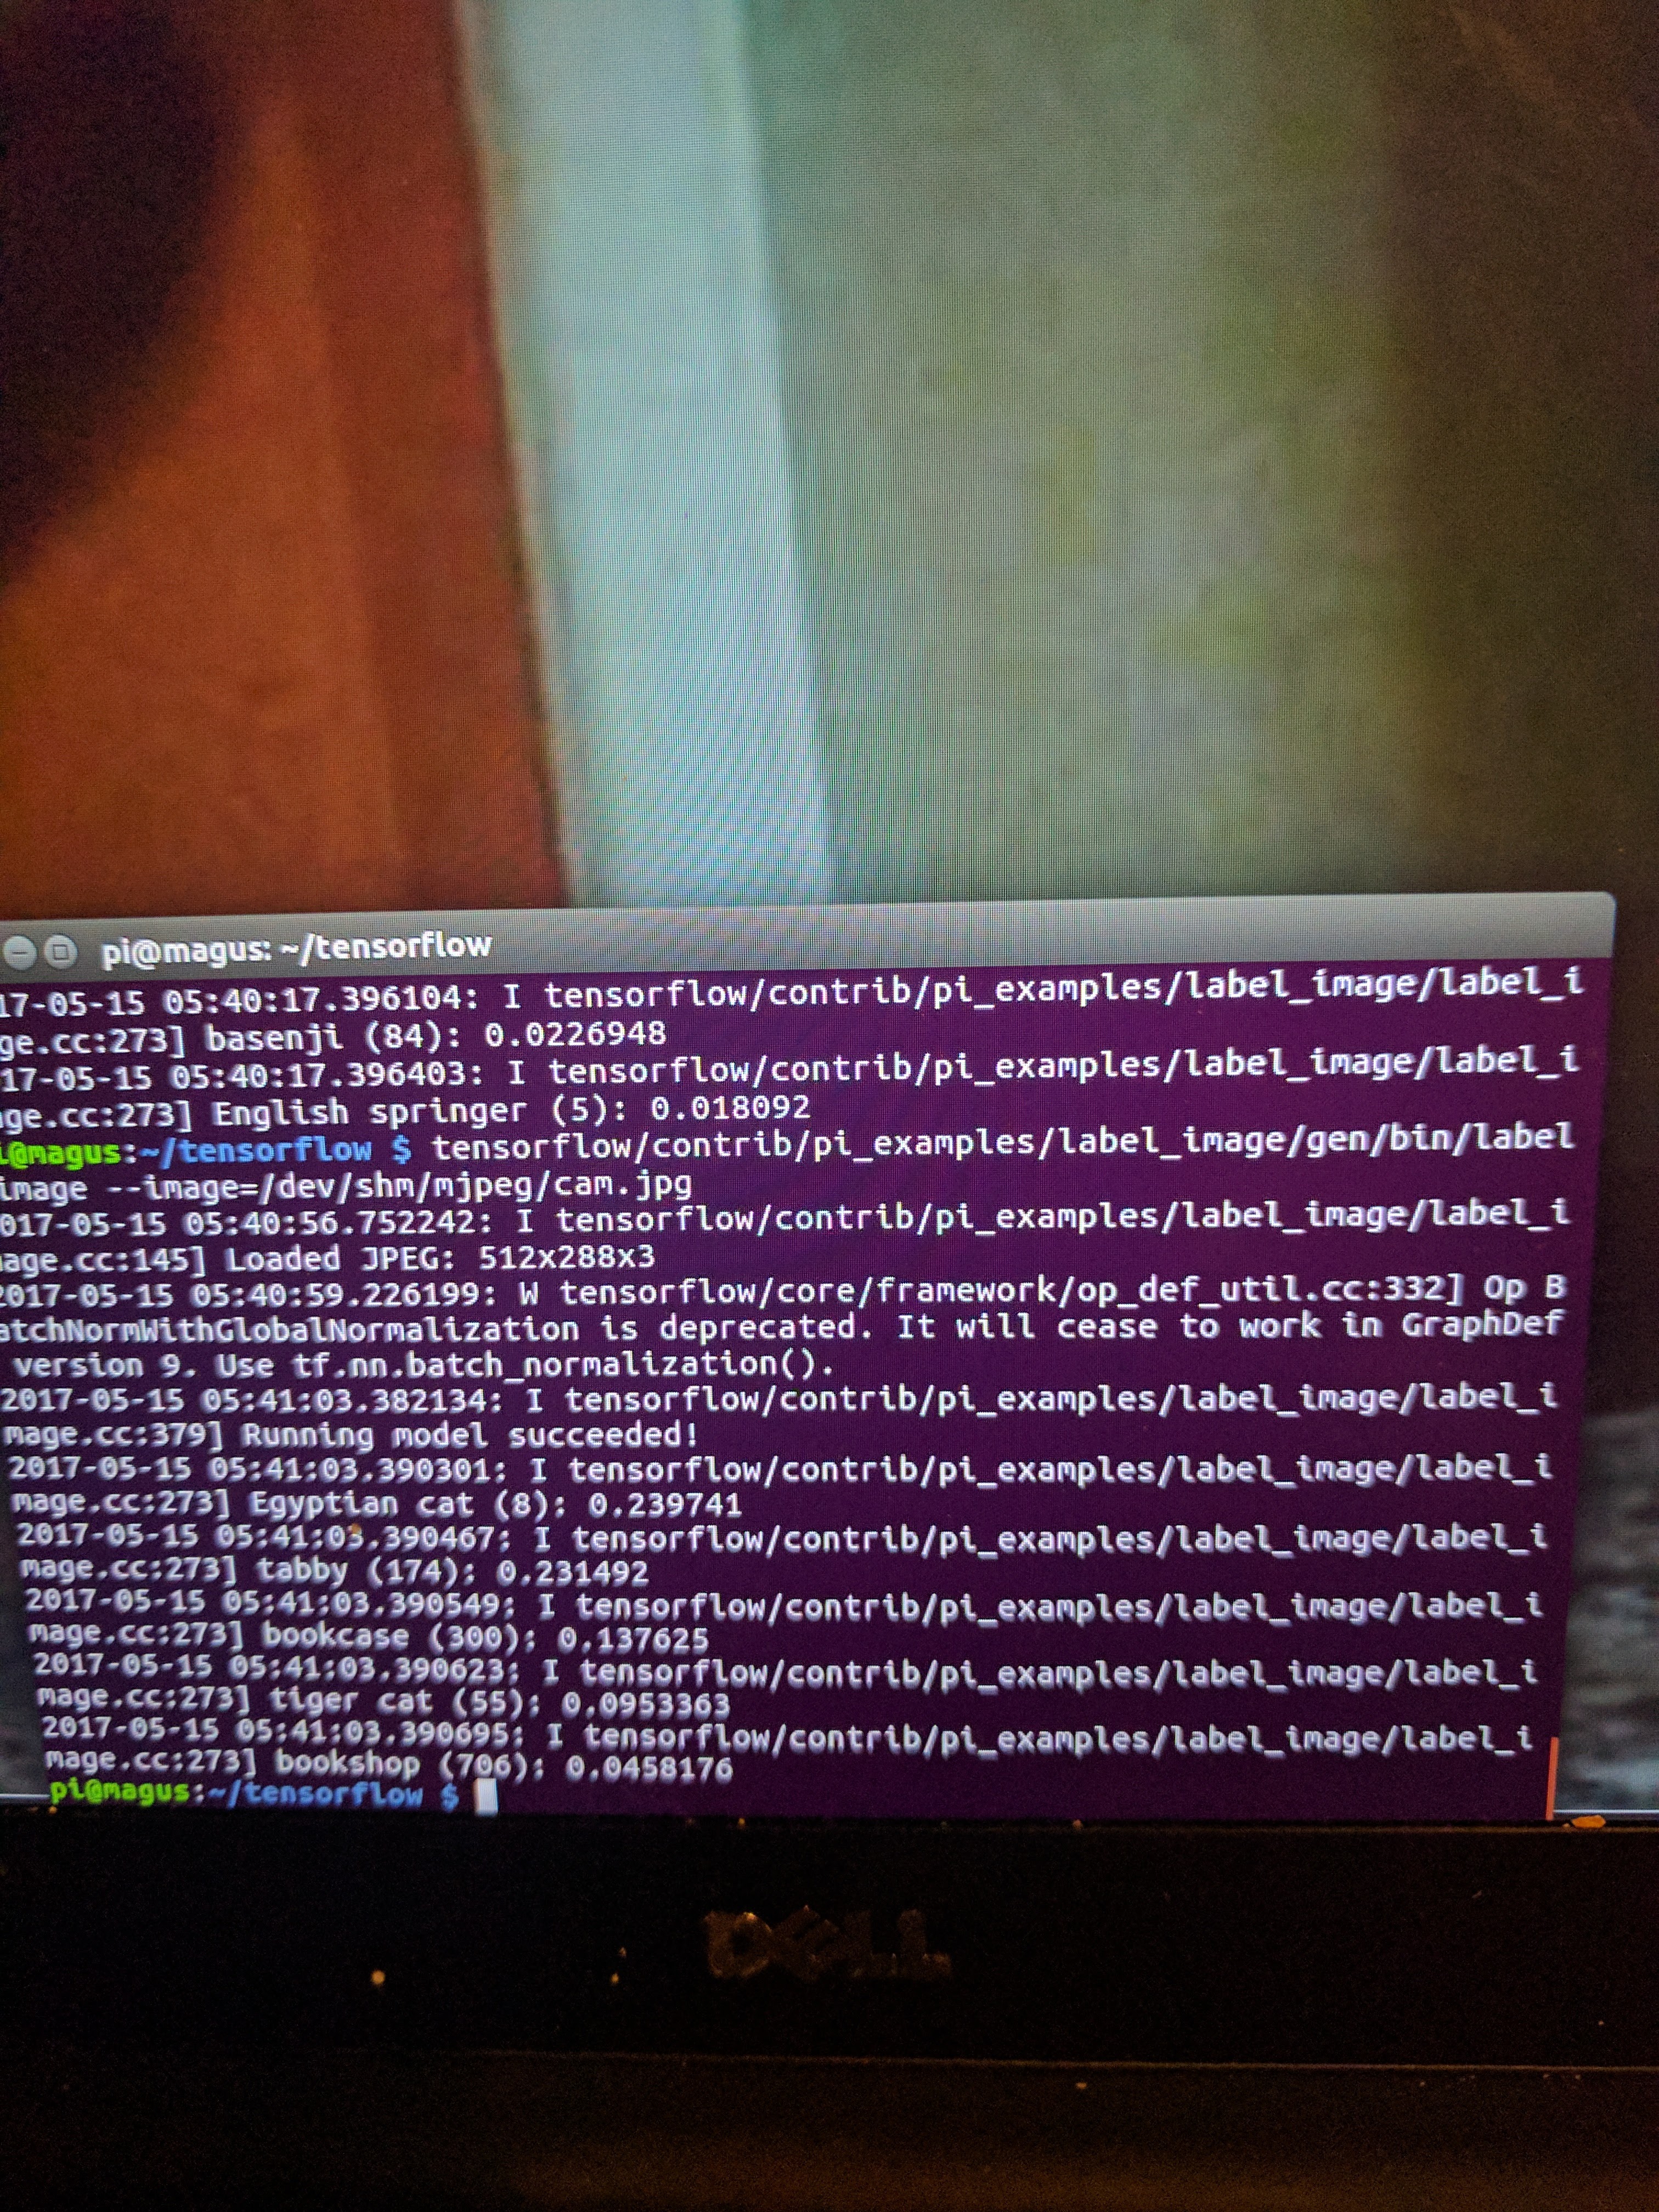
Lily wishes she was an Egyptian cat.
Although Tensorflow was able to (mostly) identify my cat, this experiment was also a failure for many reasons. One, it takes almost ten seconds for the algorithm to run, even on this pretrained model. Also, if my cat is even slightly out of the frame, it starts guessing things like "Boston Bull" and "Cardigan".
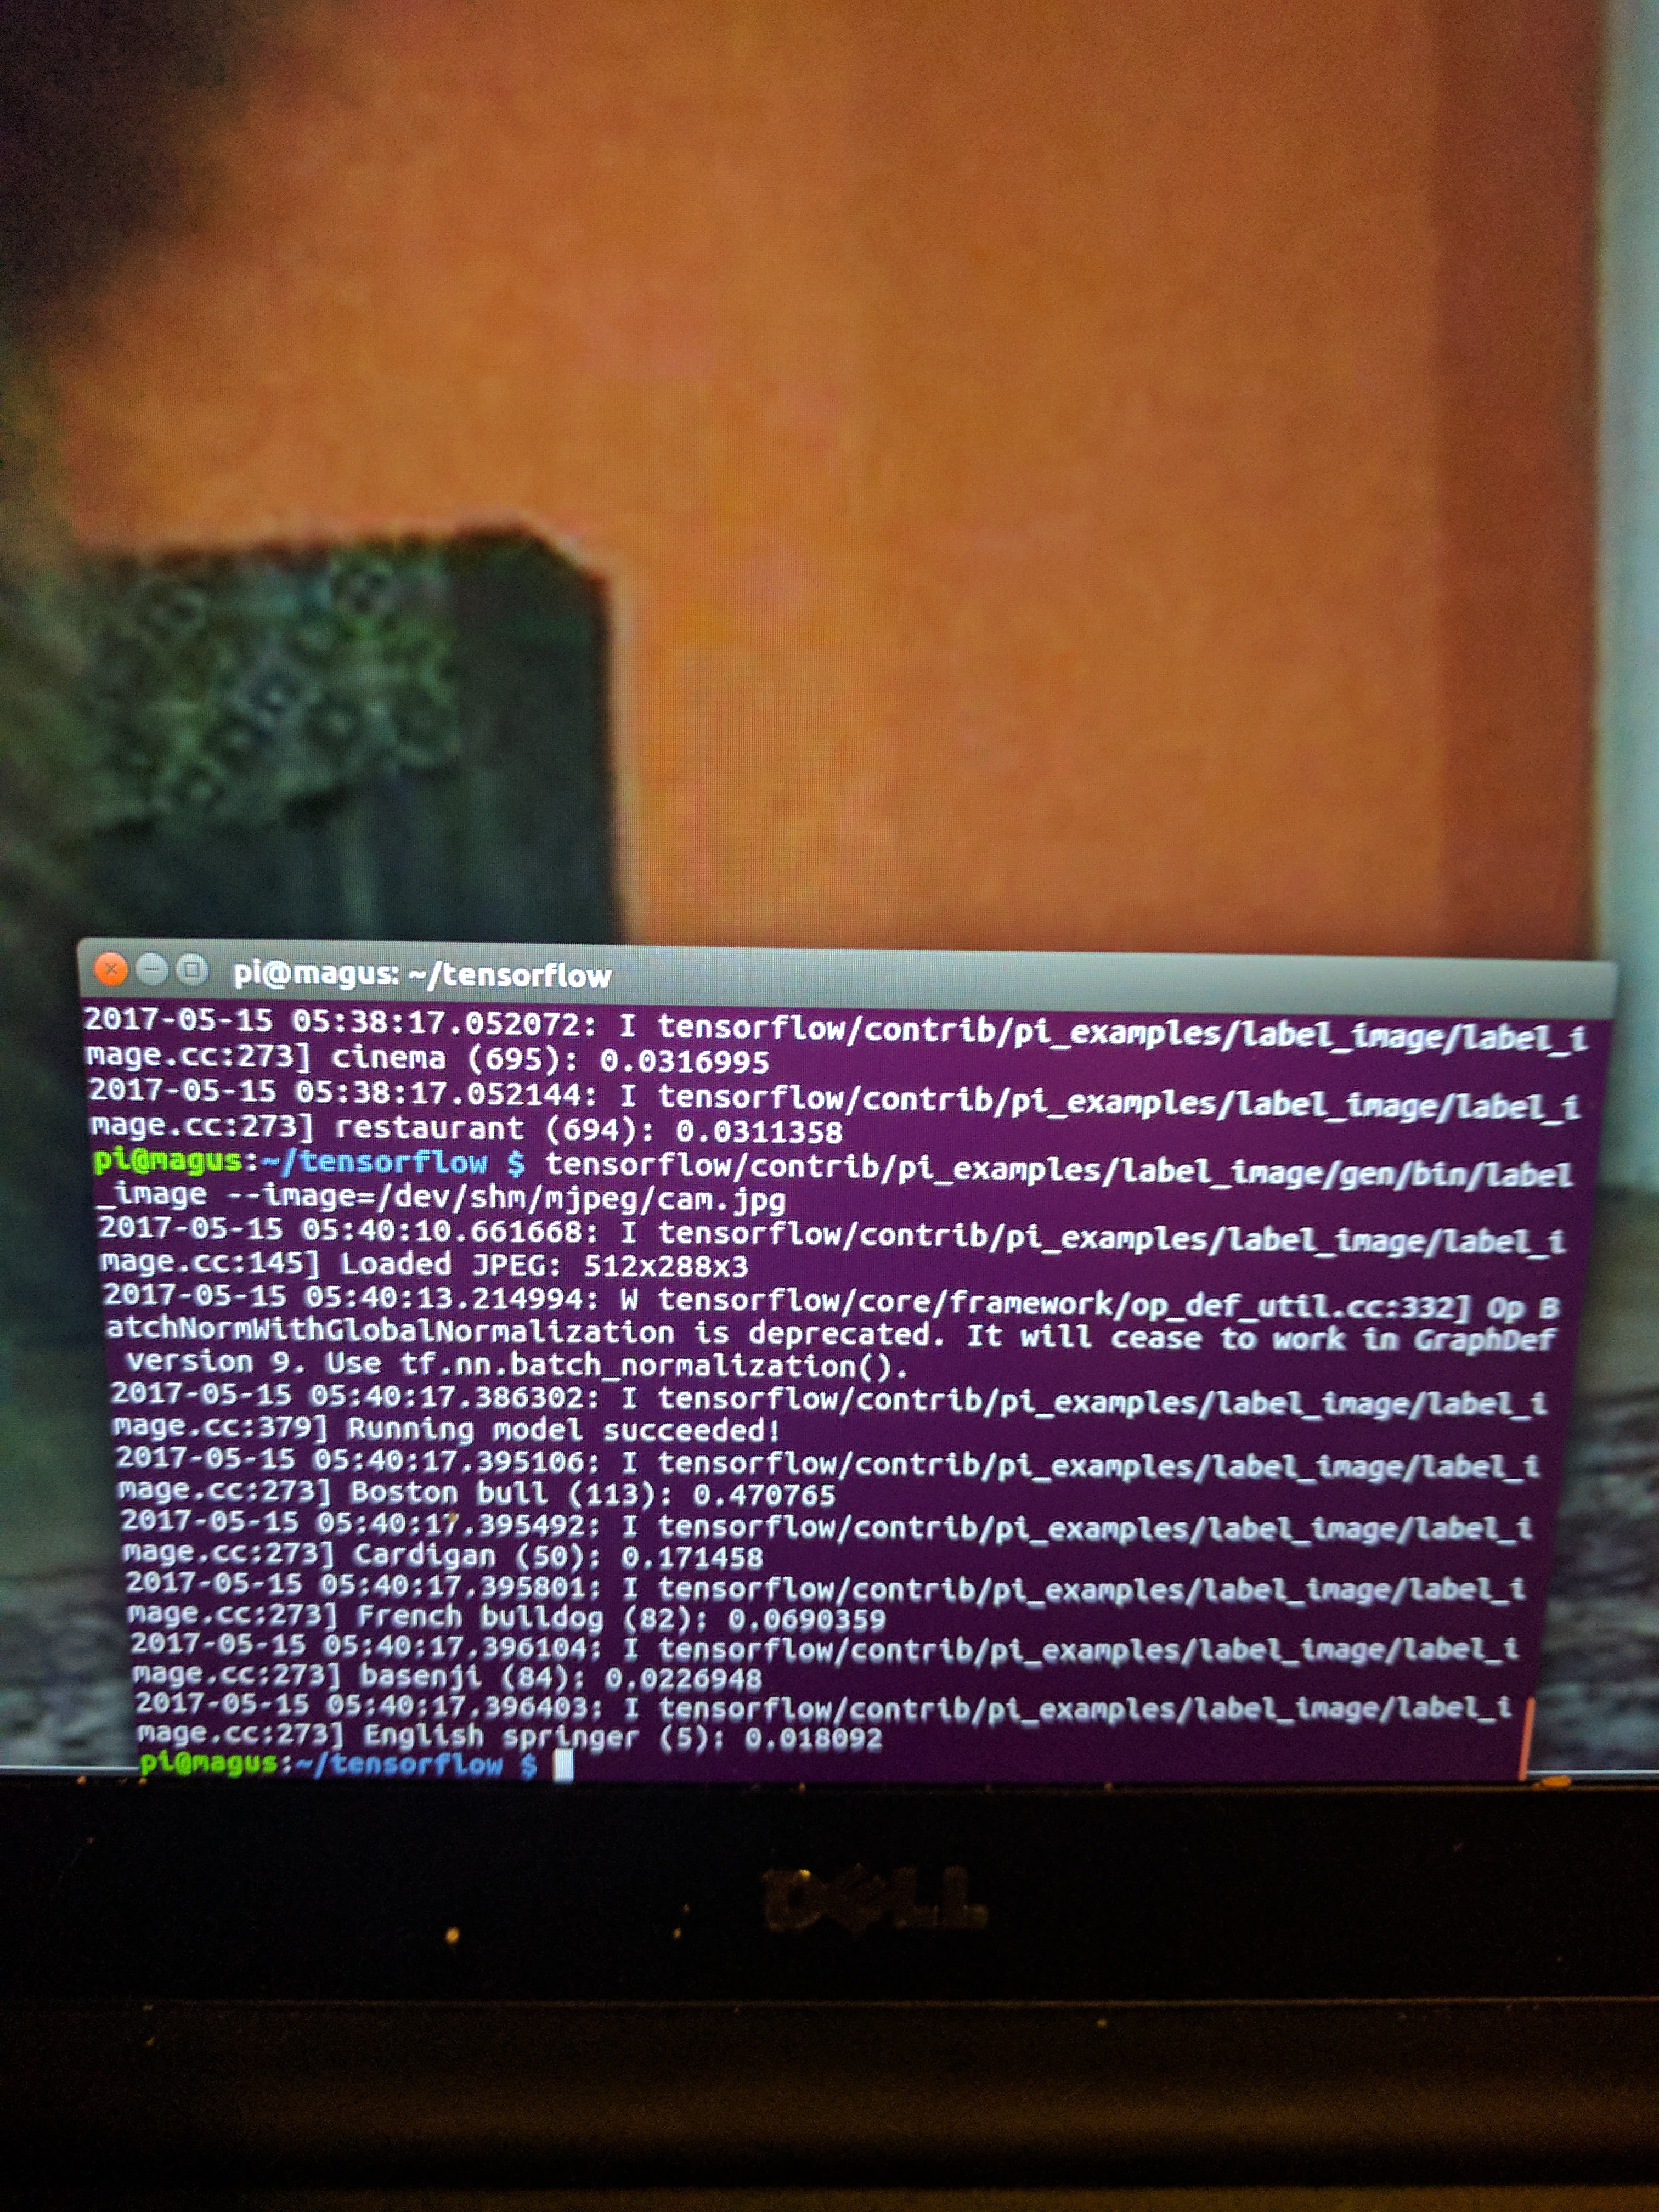
Ways Lily is like a cardigan: Soft, warm. Ways Lily is not like a cardigan: All other ways
So, at the moment, my cat continues to be without a friend. I am looking into different ways to try to get her to embrace her robot friend and live happily in our robot future. Until then, I guess there are always more boxes.